A long time ago, my husband and I decided that our current house was going to be our “forever home” until such time as we were ready to give up ownership entirely – likely in our 70s or beyond. Obviously, things can happen that might change that plan, but having that idea in mind has shaped the way we’ve approached our living space. I’ve come to think of our house as our “snail shell” – it changes with us as we change as people, and as a family unit. One of the biggest challenges is making the most of the available space because, unlike a snail’s shell, our house doesn’t actually get larger every year. That being said, my husband and I both believe that what we have (1,700 square feet, not including the basement) is big enough for the 4 of us, and that the key is being creative about how we use it.
I’ve said this before, but there are things about the way our house is laid out, and how the space was designed to be used, that drive me nuts. Some of it has to do with my evolving preferences. Like most people in North America with access to HGTV, I was at one point brainwashed into the idea that “open concept” is the best; when we bought our house 9 years ago, I didn’t bat an eye at the fact that our front door opens right into the living room, standing in which anyone can see my (not Instagram worthy) stove and the dirty dishes in my sink. I probably didn’t even think about dishes at the time, because I was 29, had no kids, and didn’t really eat much at home. A few things have changed in the intervening decade, including the fact that I have now seen through the “open concept” lie and long for a return to well-defined spaces equipped with walls and – be still, my heart – doors. Doors that close and conveniently contain the mess on the other side.
This is, by the way, just a long preamble to telling you about our latest home DIY project: our front hallway.
[In case you were wondering, our living room bookcase remains 95% complete. Yep, still no doors on the bottom cabinets. That may or may not change soon. One can only hope; such is the way of DIY projects at our house. They’re inexpensive and done well, but they take years to complete. Sometimes decades. And there are usually 2-3 uncompleted projects on the go at any time, because my husband always has more enthusiasm for starting new projects than for completing old ones.]
As I mentioned, the space I am calling our “front hallway” is not really delineated in any particular way; there is a clear and unobstructed path from the front door right into the living room. The good news is that there is a bit of physical separation – about 8-10 feet. Enough to make for an actual foyer of sorts – though not a “lawyer foyer” for you McMansion Hell fans out there. All that’s missing are some walls. Or in this case, because our main floor square footage is not that big, some glass French doors.
But that’s not today’s project. Sorry if I got your hopes up; you’ll have to wait until next year (fingers crossed) for that story.
In anticipation of the French doors we will be putting in at the “entrance” to the living room, we decided to re-jig the hallway space a bit. What we started with was a small, mostly useless built-in bench and a deep closet which I liked to call our “bottomless pit”. This is what it looked like on an average (winter) day:
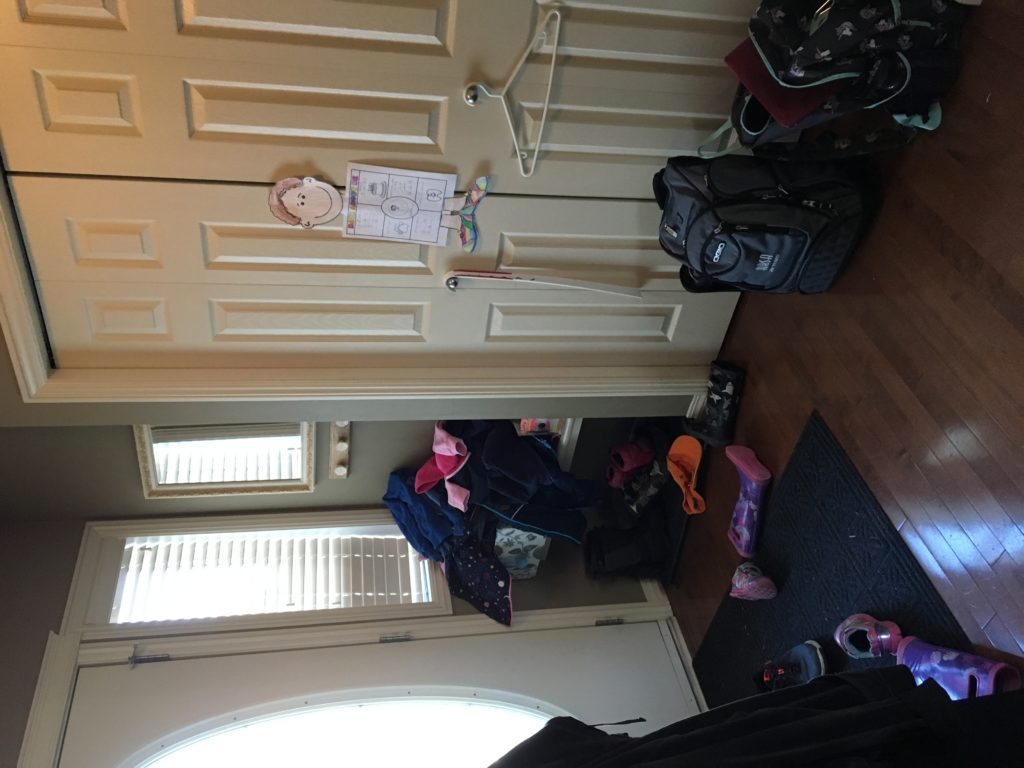
Real talk, yeah? Here’s a look at the closet (mostly emptied out):
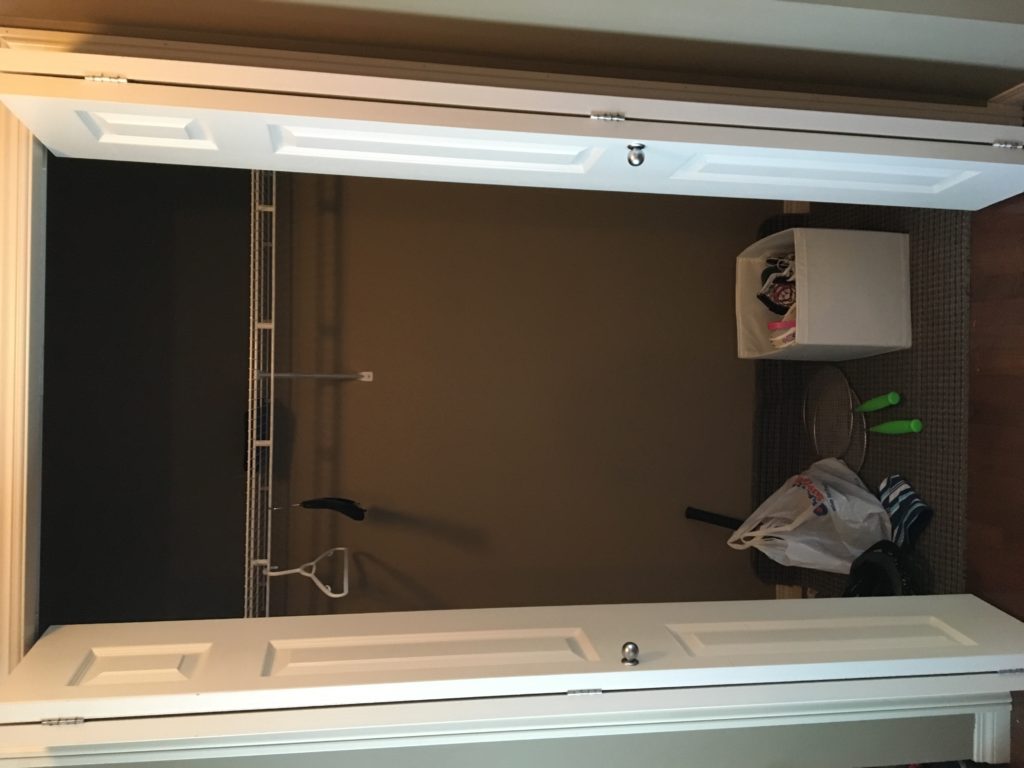
The closet was large but mostly useless. It was 10 feet tall (like the rest of the main floor) and 4 foot deep, but it had only one crappy metal shelf and a single rod for hangers. Typical builder basic stuff. We shoved some organizer boxes and shoe shelving in there, but it was still just … a dark, bottomless pit of random junk that we couldn’t be bothered to organize properly. It was always overflowing with things, which drove me nuts. So what to do?
Get rid of it, of course!
It probably sounds counter-intuitive, so here was my rationale. [This was my idea, and it took some convincing before my husband signed on.] On the other side of the main floor, by the door to the garage, we have 2 other closets. Both are smaller, but previously significantly under-used. We also have a large “bump-out” space for our washer and dryer, which was also under-utilized. One of the closets was mostly full of junk and some of my husband’s coats; the smaller one was filled with cleaning products and – I kid you not – a waist-deep layer of plastic bags (which we reuse). It was time to get organized.
My husband quickly put together an extra-large shelving unit (using IKEA pieces) above the washer and dryer. This now holds all of our household products, from paper towels to cleaning supplies of all descriptions. The closet where the plastic bags and cleaning supplies used to live was quickly remodeled into a tiny but functional closet for my coats and shoes. It’s just a little less than 2 feet wide and about as deep, but we’ve added two shelves, a rod, and a small shoe rack, and it’s sufficient for my seasonal outerwear and outdoor shoes. [I rotate my summer and winter outerwear.]
I went through our big closet and ruthlessly purged anything that was not actually usable or useful anymore. What was left, I organized into bins and/or hangers, and moved into the second (larger) closet by the garage door. That would be my husband and the kids’ coats and shoes, along with related miscellany such sports equipment (we don’t have a lot), travel stuff (weekender bags, etc.) and shoe care materials. It’s a tight fit, but it’s manageable.
Next, it was time to tackle the front entrance itself.
My husband hated the faux bench, which was basically used by the kids as a depository for random junk. He tore it out and installed a custom-built storage unit, along with a heavy-duty row of hooks above. He even added a marble countertop to the storage unit because he can’t help himself. We use the hooks to hold up the outerwear we use daily, including the kids’ snowsuits. It gets bulky, but at least it keeps stuff off the floor and easily accessible. The storage unit currently holds baskets filled with the kids ephemera – gloves, hats, scarves, etc. Again, easily accessible but out of sight.
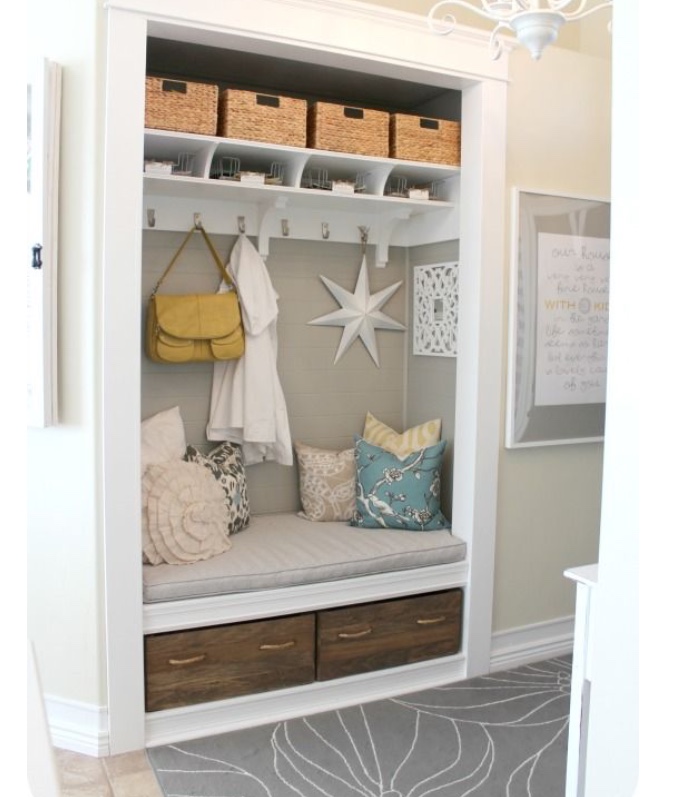
Lastly, we get to the closet. My plan was to turn it into a seating nook, with the idea that this would create a sense of a separate identity for the hallway; it would be its own space, rather than a part of the living room. Here are some of my inspo photos:
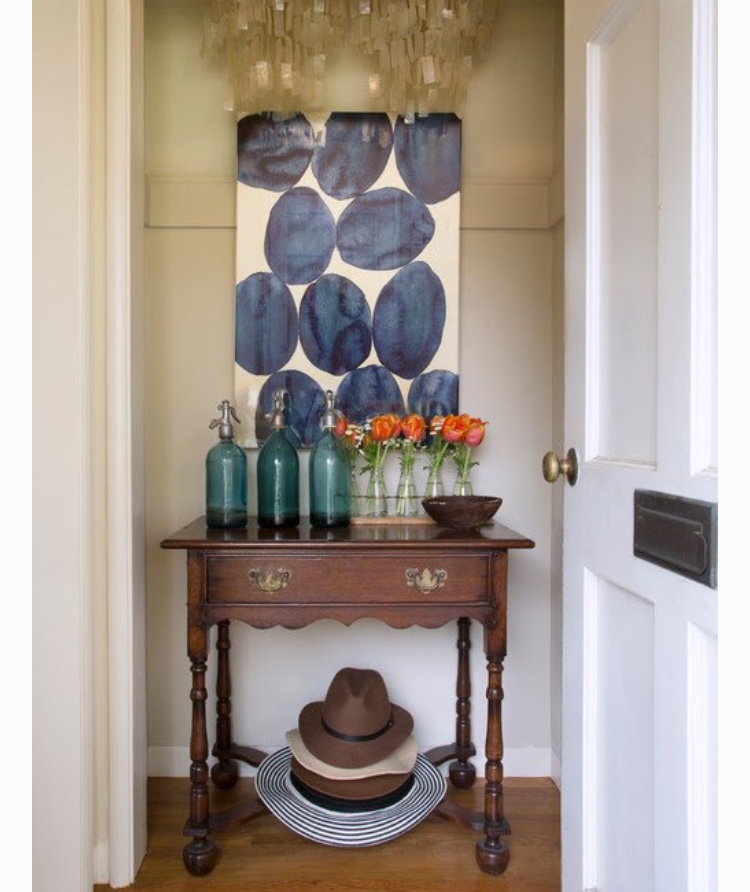
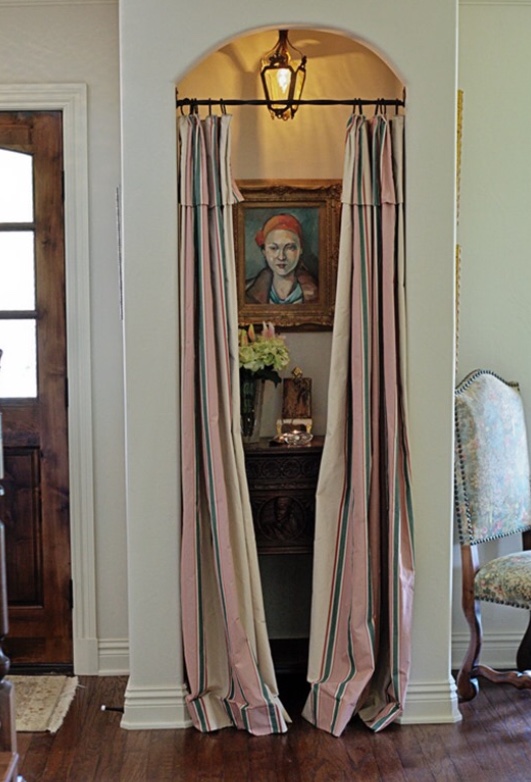
After a LOT of back-and-forth – as I mentioned, my husband was not immediately sold on this idea – we ended up deciding on a simple approach. To make it seem less like a closet conversion (which is what it is), my husband knocked back the wall a bit to add some height and architectural detail. Luckily, the hardwood flooring had been run by the builder all the way to the back wall, so we didn’t need to worry about any floor transitions; we just had to fill the small holes left by the door tracks. We took down the shelf, patched the walls and … that was pretty much it. This process took a long time for various reasons (the last 3 months have been a rollercoaster in our family) but the work itself was straight-forward when compared with some of our other projects. Or so I am told.
The best part, of course, was the styling. We ended up choosing a small loveseat from Structube which was on sale as it was a floor model, and the last piece of its kind in stock; it’s a nice, neutral seating option that fits in with the décor of our living room. We added a couple of inexpensive floating shelves (under $40), and I styled them using thrifted pieces I already had at home (plus 3 pictures I thrifted specifically for this space).
Here’s the end result:
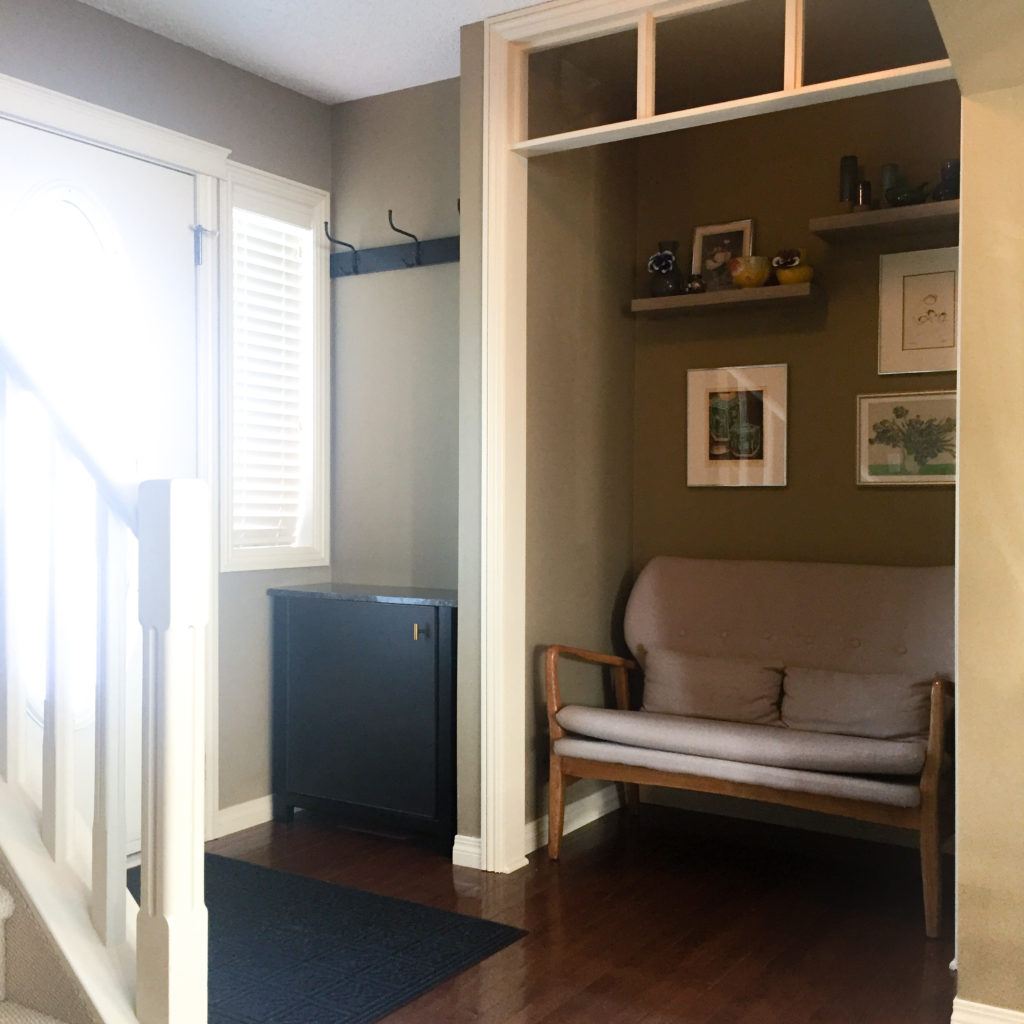
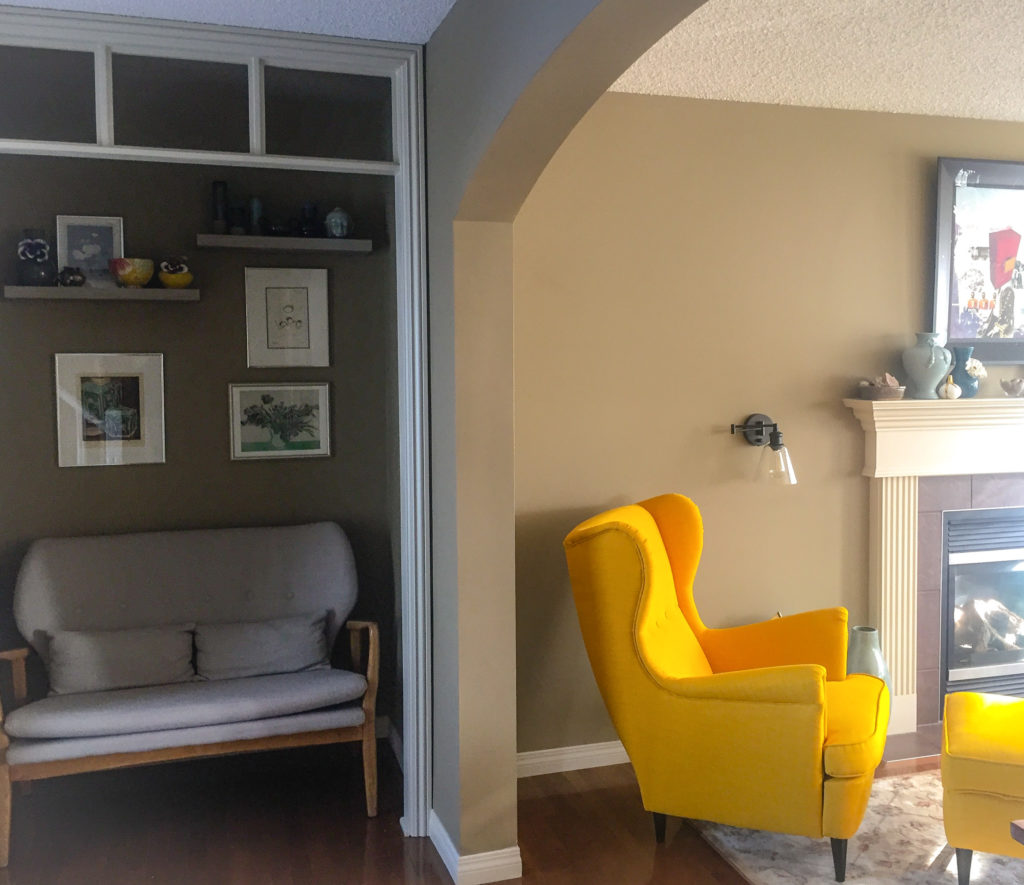
I love this so, so much. I think it’s going to “make sense” even more once the French doors are put in, but I love how cozy it is. My only regret is that it couldn’t easily be wired for light; I would use it as a reading nook in a heartbeat. We may end up adding some LED lighting in the future, and we will be changing the hallway light fixture as well, which may also help improve the lighting.
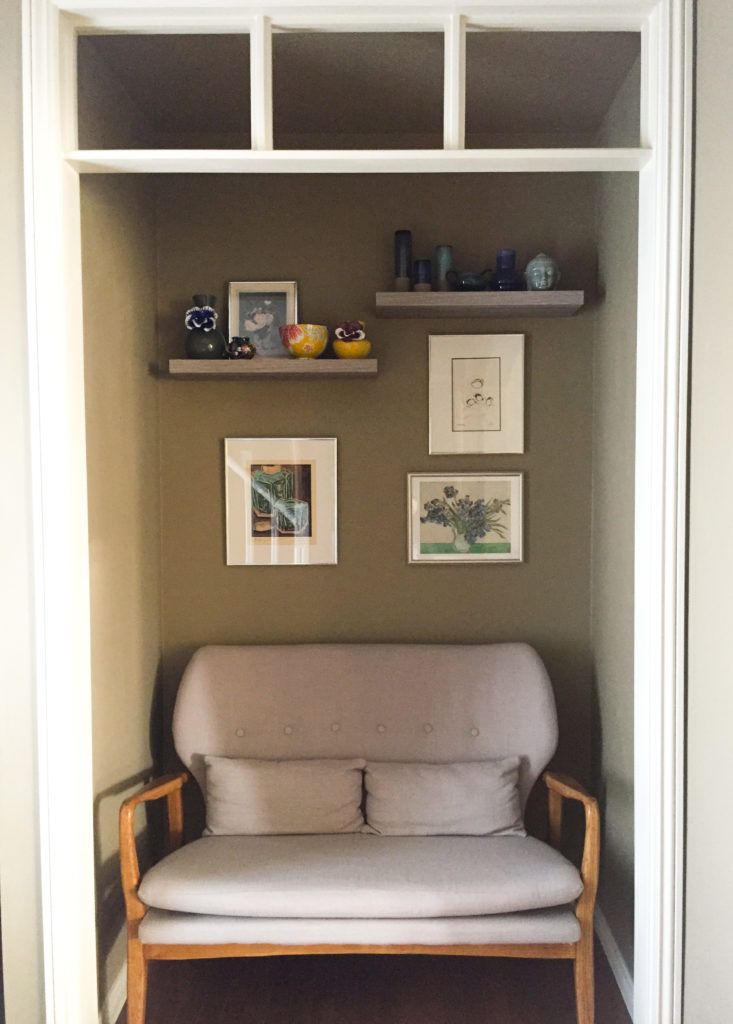
One thing I have added was a storage box ($15 at IKEA) under the loveseat. It has handles on the front, so it can be pulled out, and there is a zipper on the top. I plan to use it for storing out of season coats, etc.
In the interests of full disclosure, here is a less staged photo of the new space:
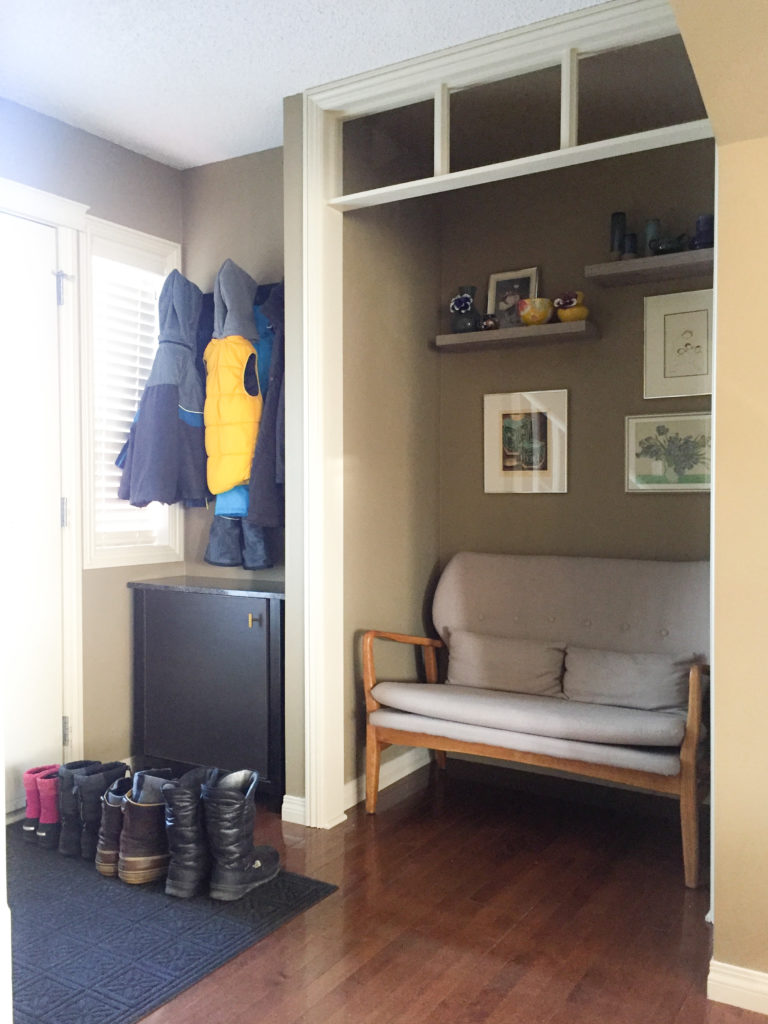
It looks like this more often than I’d like, but “training” the kids to put their things away neatly is a work in progress. I still think it’s an improvement over what this used to look like, so I’m happy. Small steps.

