Light as Air

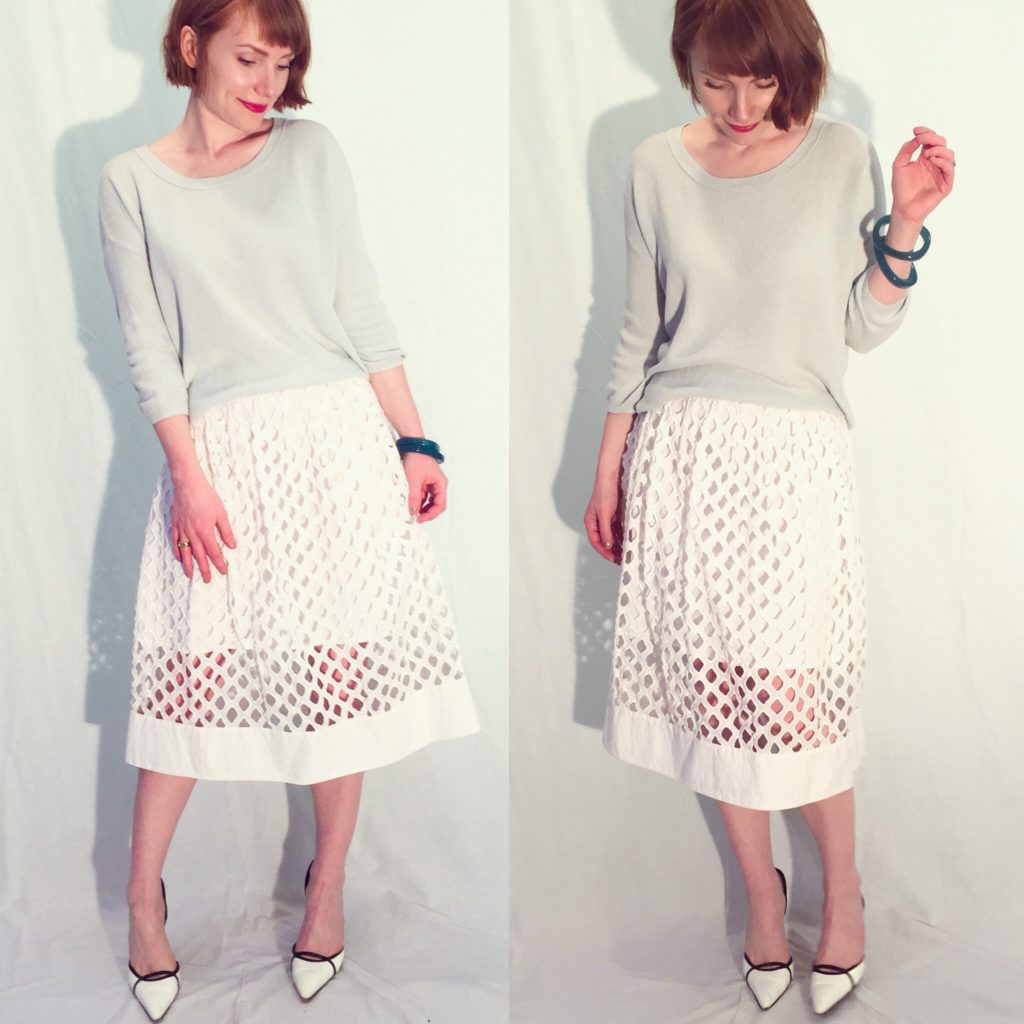
Summer has arrived in Edmonton! All the exclamation marks! It has been so long since we’ve had warm weather that I have – legit, no joke – forgotten how to dress for it. Breaking my reflex to reach for a sweater with every outfit will take a while. Luckily, I have some lightweight sweaters on standby, like this pale aqua number from Aritzia. The slouchy fit is perfect for this Floreat skirt, which could easily look too “girly” paired with a more fitted top. Everything is thrifted, including the shoes – which, you may recall, were my first ever pair of thrifted Manolo Blahniks. Finding them marked the beginning of my transition to a fully-thrifted wardrobe. Fun sidenote: as it currently stands, 88% of my wardrobe (including shoes and bags) is secondhand. Almost there!
Paperbag Prince

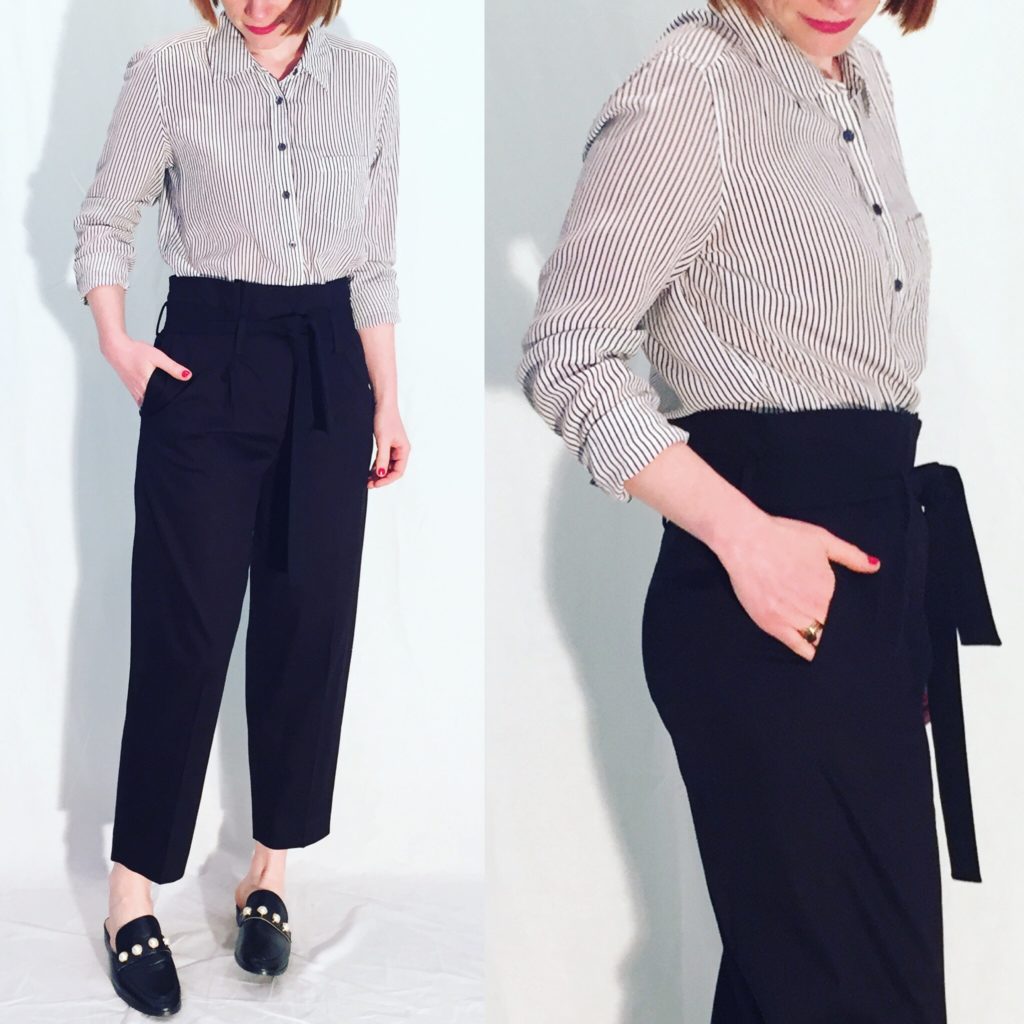
This is a very Prince-ly outfit, featuring some recently thrifted COS trousers. They were a real score; non-skinny fit trousers are not easy to find in thrift stores, which are still dominated by “skinnies” (think BR Sloans, Old Navy Pixies, and J. Crew Minnies). Current trends do trickle down, but for the most part, thrift stores are a reflection of what was “hot” 2-3 seasons ago. In most cases, that doesn’t matter to me because I buy things that fit my aesthetic rather than whatever is trendy at the moment, but it does pose a challenge when my aesthetic lands on the forwards fringes of a particular trend. Anyway, these trousers are awesome; adding them to my outfit rotation will hopefully give my beloved Aritzia pants a break, thus extending their life.
Poppy Bright

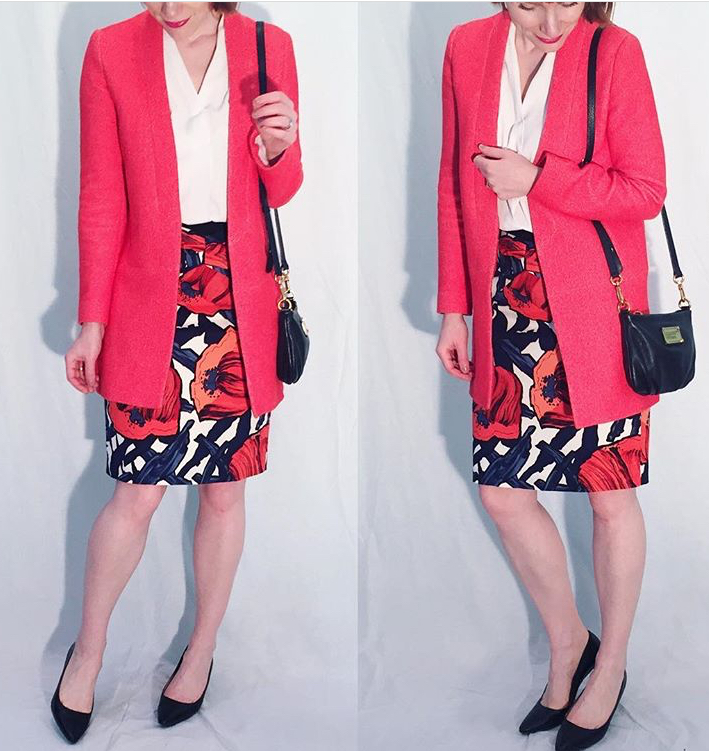
This is more of an “old Adina” outfit, but I can’t quite bring myself to break up with this skirt for good. It’s so lovely, sigh. I think it works wonderfully well with this Zara blazer-coat but, together, they are a bold look. Perhaps too bold for me, now. I felt a bit self-conscious wearing this on the train on my commute to work. I hate that feeling so, although I really like this outfit a lot in principle, I’m not debating whether one or both of these pieces needs to go. I think the topper could be more easily integrated into the rest of my wardrobe and aesthetic, whereas the skirt … not so much. But, ah, it is a lovely one!
