
I promised last week that I’d be a writing a post detailing my process for making embroidered/beaded upcycled jewelry, and I am a woman who lives to deliver on self-imposed, arbitrary deadlines. I hope the post makes it easy to follow my steps for anyone interested in giving this sort of thing a try at home. (It’s fun! You should.) Please note that I am not an expert by any means, and this is simply the way that I do things – not the only way, or the best way necessarily.
Step 1: The Design
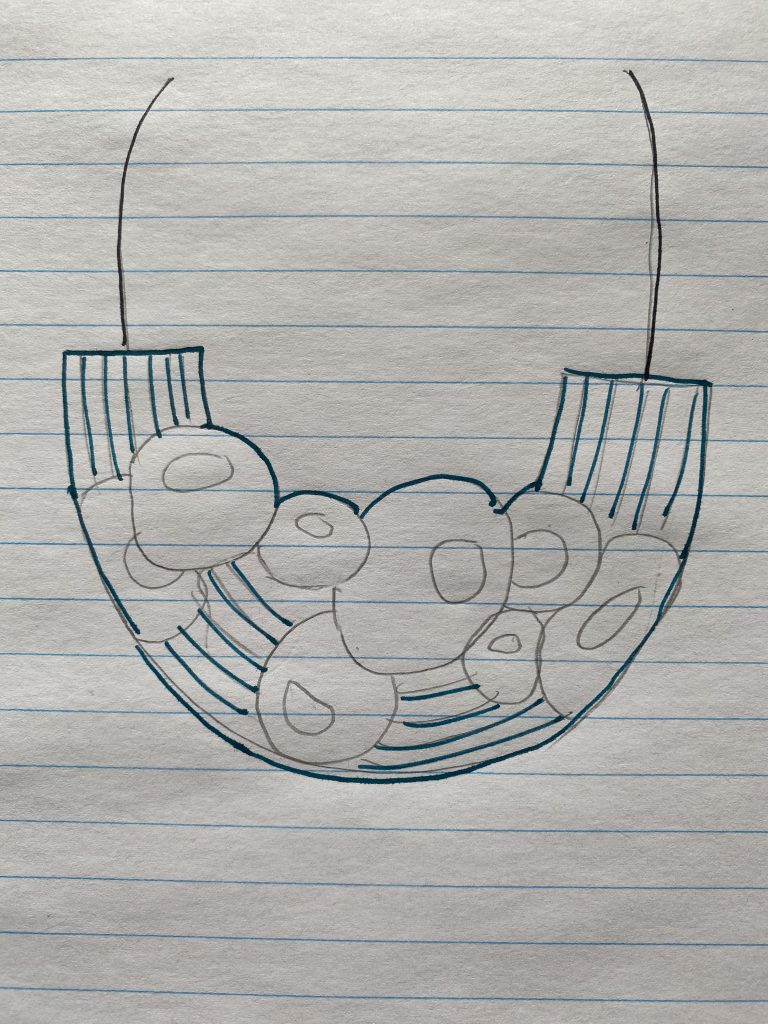
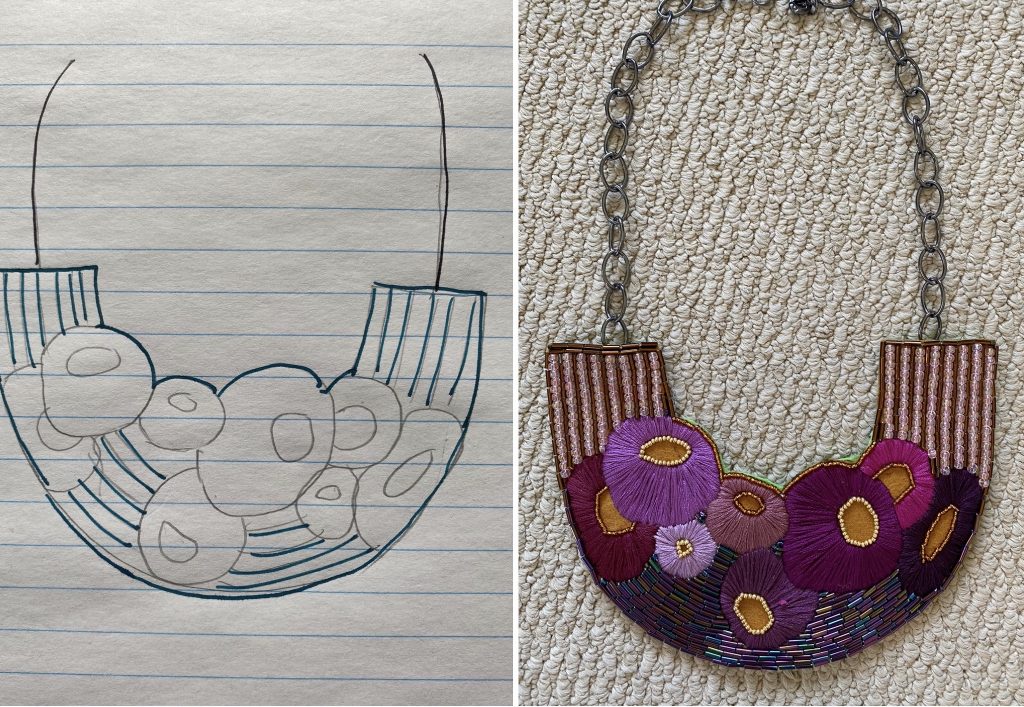
Last year, I started keeping an art journal – a notebook where I jot down ideas for projects and sketch things out. More recently, I started pasting in images that I might want to use for inspiration as well. I find this helps me keep track not only of on-going projects, but also ideas that I could revisit in the future. Anyway, the first step is jotting down a simple design, like this necklace:
Step Two – Preparing the Backing
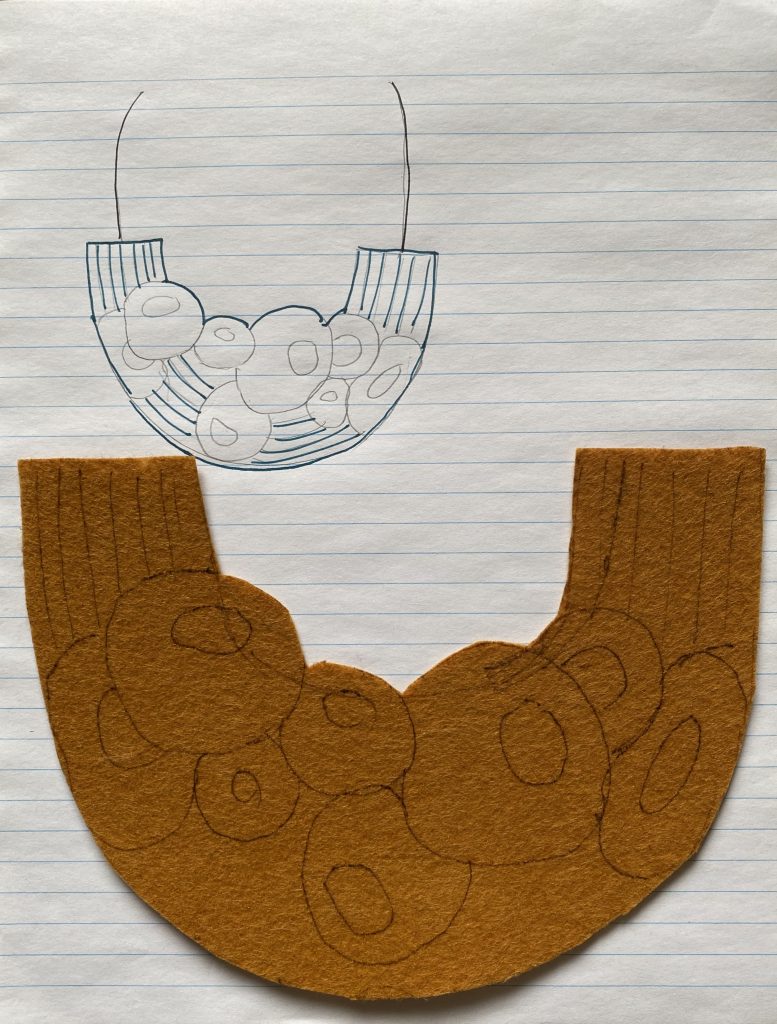
For my jewelry projects, I like to use felt. This is for a number of reasons. Felt is more stiff than fabric – it holds its shape and gives the finished pieces some weight (but not too much). It retains its edges without requiring any finishing, for the most part anyway; you do have to be careful when working along the edges as sometime they can fray. Lastly, it’s easier to embroider on felt without a hoop than it is on regular fabric. For most jewelry pieces I make, using a hoop is out of the question due to size.
I used to use a rather heavy-duty felt in the past, mostly out of habit. When I first started beading, more than a decade ago, I used some scraps that I had at hand, which happened to be leftovers from a furniture-upholstering project of my husband’s. I’ve been working through that stash ever since. And it does work … but it’s hard work pushing the needle through and there can be quite a bit of warping, especially on smaller pieces.
So I decided to experiment with different kinds of felt. I’ve got a couple of different packages of felt in the past, which I used to use for lining (more on that later). This is just regular crafting felt, although the consistency/feel seems different from piece to piece. Some pieces are softer, fuzzier, and more pliable. Others are less fuzzy, and more cardboard-like (for lack of better description). I used the latter type for the backing for this piece.
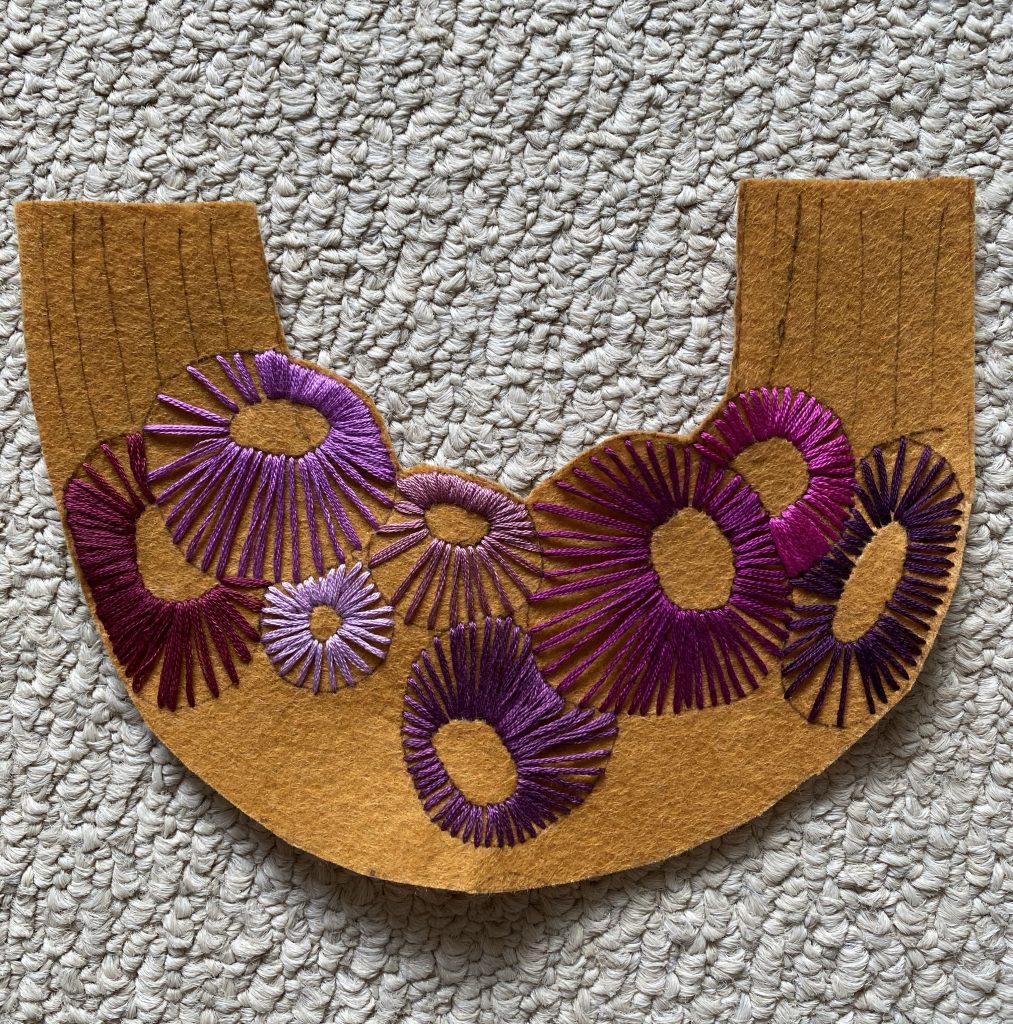
Step 3 – Embroidery
This step is self-explanatory but a few words on working around edges. This is one of the trickiest parts of the process, and I’ve adapted my practices through trial and error.

Getting too close to the edge can easily result in fraying, so I leave a small border.
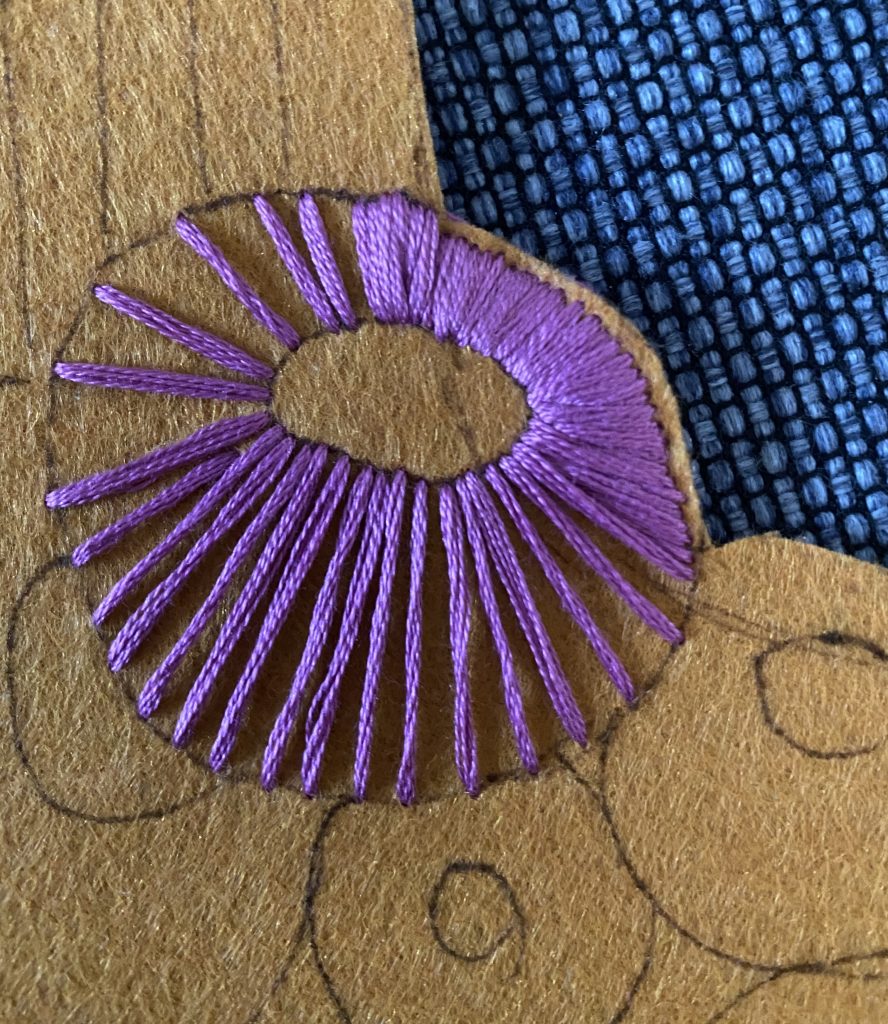
I use beading later on to cover this and “finish” the edge as it were. The needle I use for beading is much thinner, as is the thread, so it’s less likely to cause damage to the edge of the felt.
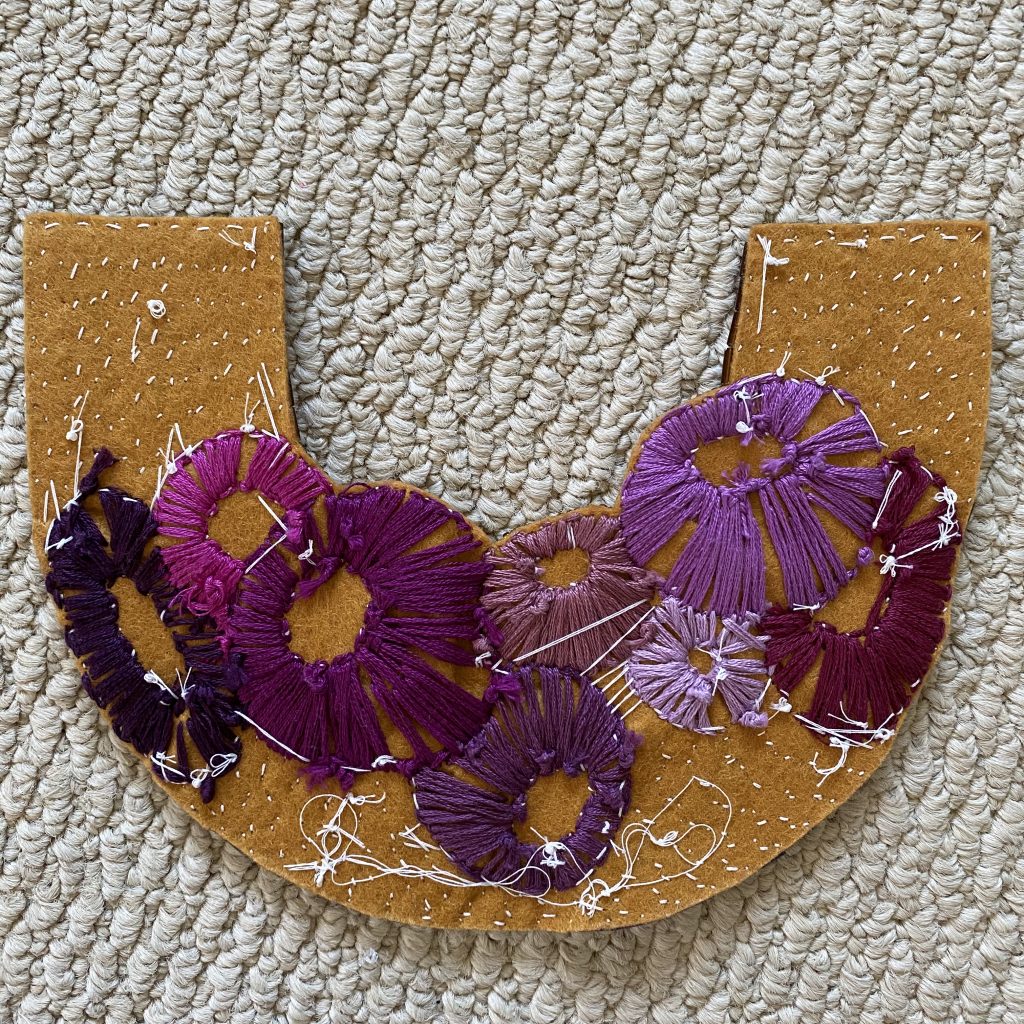
Sometimes, I like to “block” in the colour of the entire pattern (see below) then go back in and complete it.
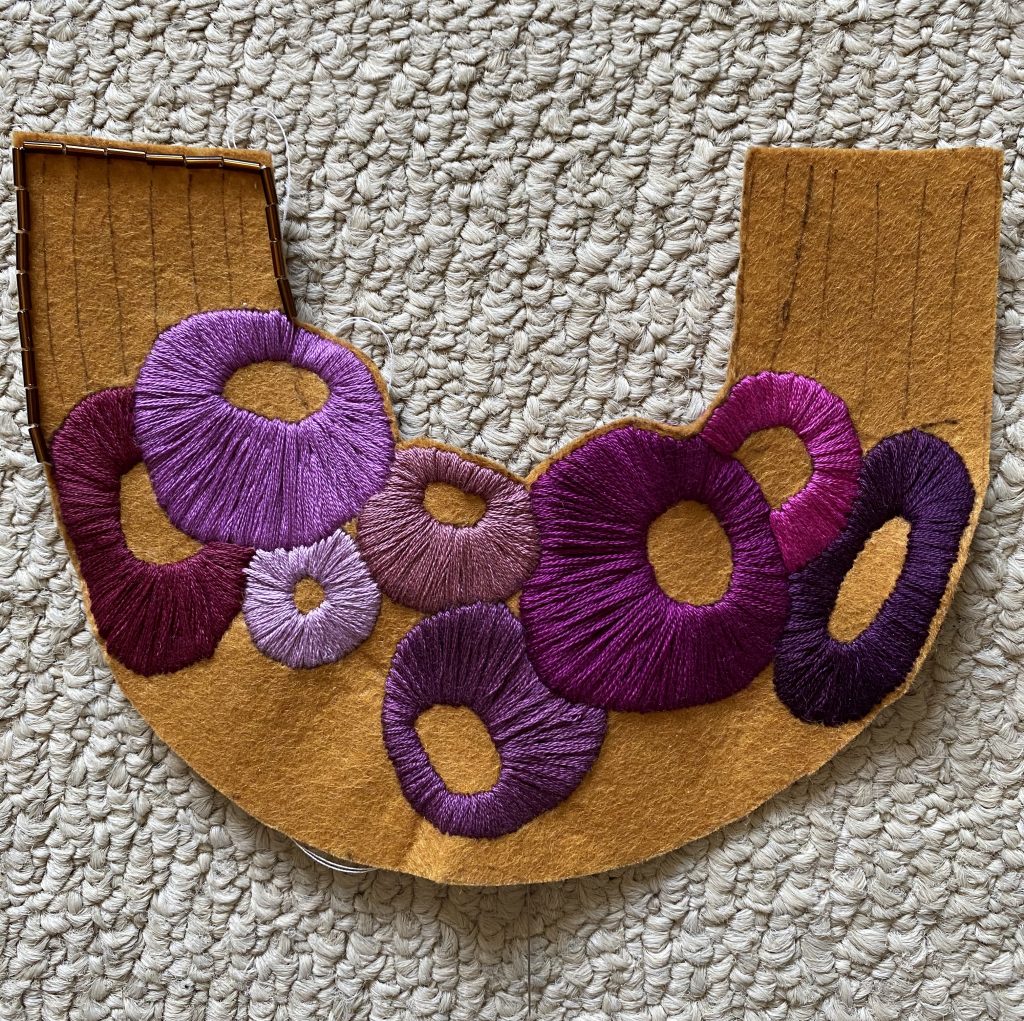
Step 4 – Beading
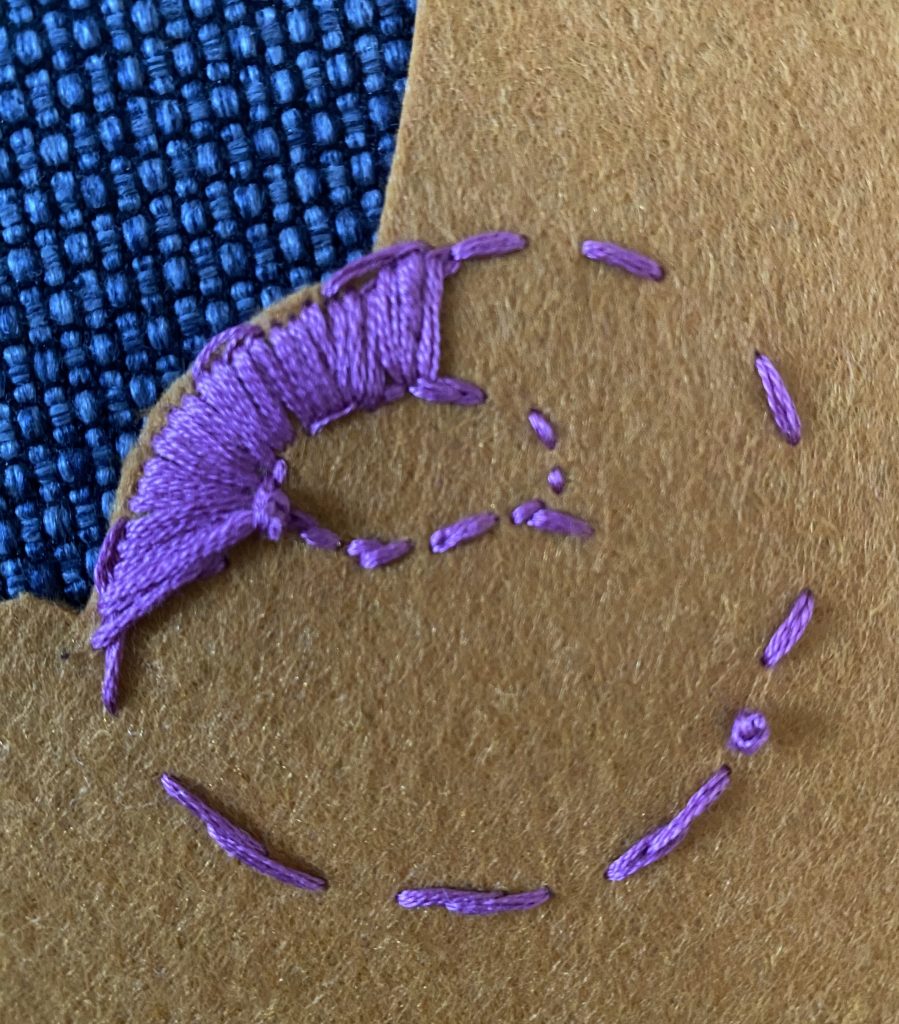
Beading used to take me a long time. Depending on the size of the bead, I can sew anywhere from 1 to about 5 beads at a time. Threading the needle was the worst part; because tiny seeds beads are, well, tiny the eye of the needle has to be tiny as well which makes it a pain to thread. Now, the process is a bit faster since I’ve finally acquired a collapsible needle. Basically, a collapsible needle is a super long, super thin needle whose shank (?) splits to create the “eye”. The needle is double-pointed so you can use either end to sew. The needle is very flexible so it can be bent and manouvered quite easily.
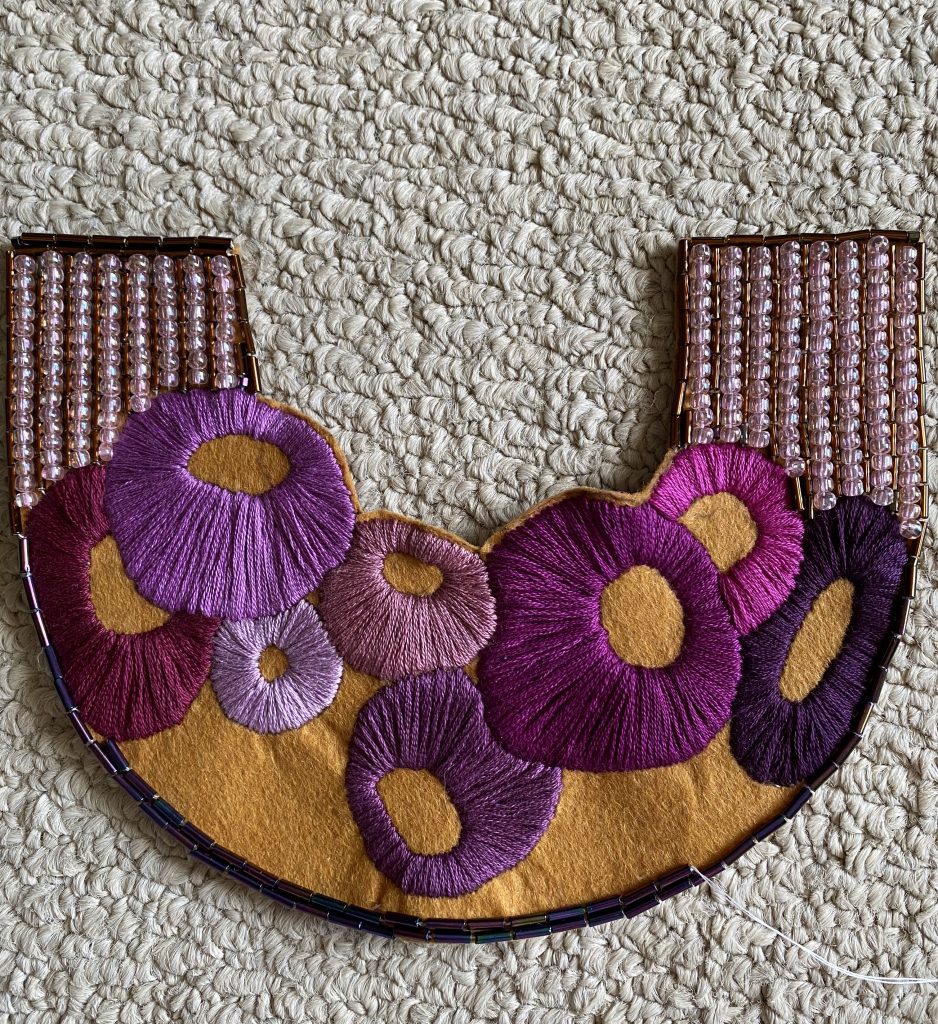
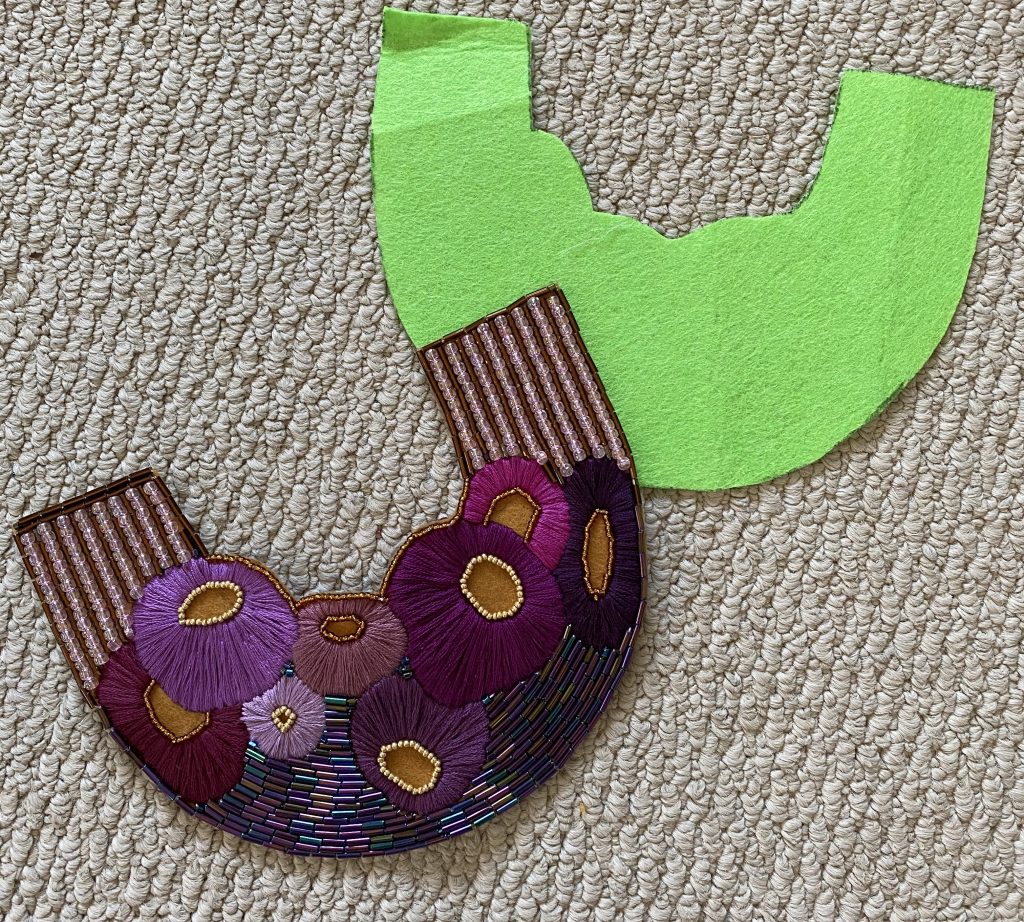
Here is the project, part way through beading:
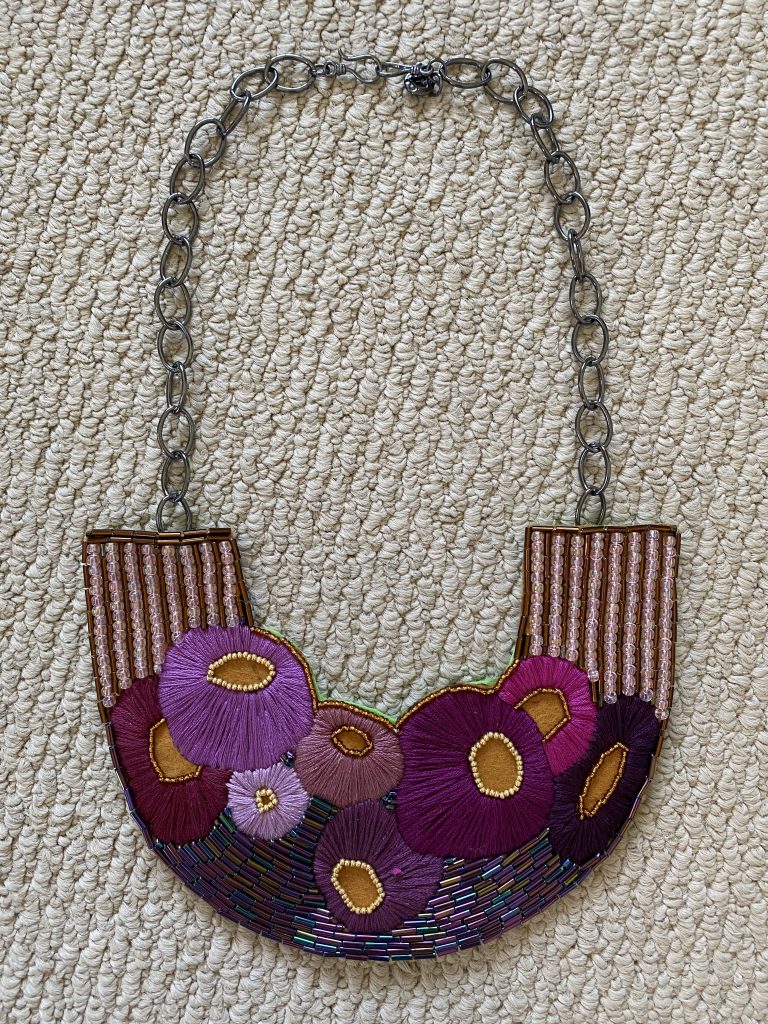
And here is the finished deal:
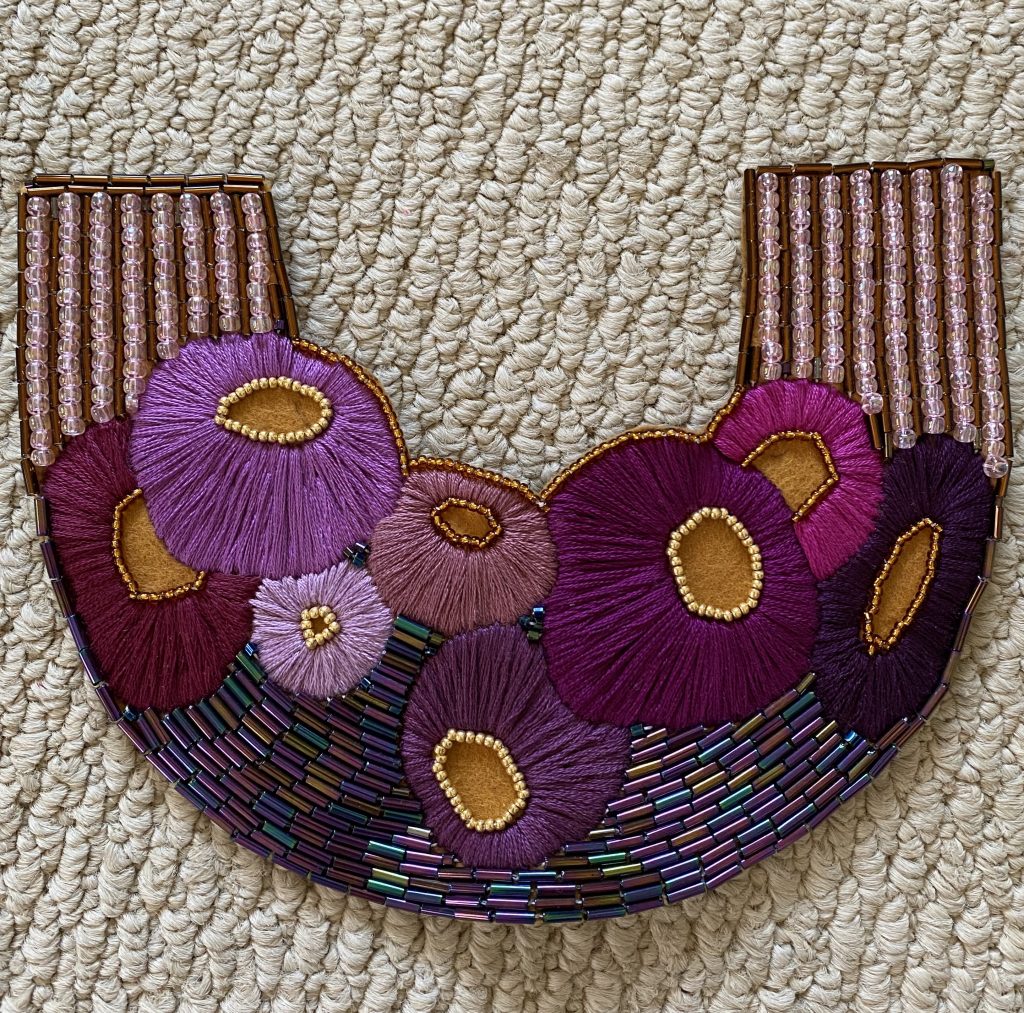
Well, almost.
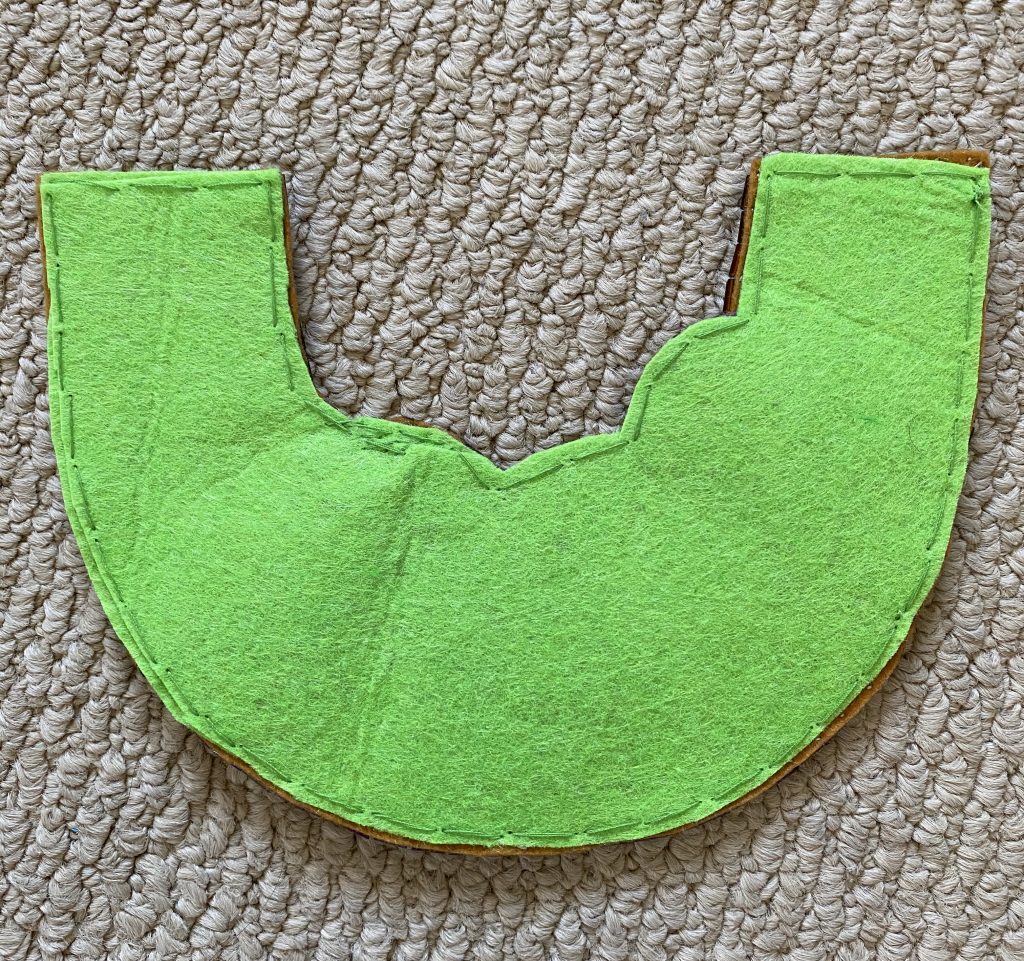
Step 5 – Lining
I am not the cleanest worker, so the back of my pieces are not usually the nicest.
For that reason, and also for the comfort of the person wearing the final product, I add a lining. Back in the day, I used to use fabric for this, but it proved way too cumbersome for me. I am garbage at finishing fabric. Felt, on the other hand, is easy – for the reasons mentioned above. I like to use a piece of felt in a contrast colour, for added punch.
Again, let me reiterate that I suck at “finishing” work. Not to mention that attaching the lining without disturbing the piece itself is tricky at the best of times. So my pieces definitely have a rustic, handmade vibe to them.
Step 6 – Adding Hardware
For hardware, I like to recycle bits from old costumer jewelry I own or thrift for the purpose. This is the upcycled part and it brings me great satisfaction to think of new ways to repurpose old chains and other bits and bobs. I have only very basic tools (a wire cutter, basically) so I have to get creative as much as I can.
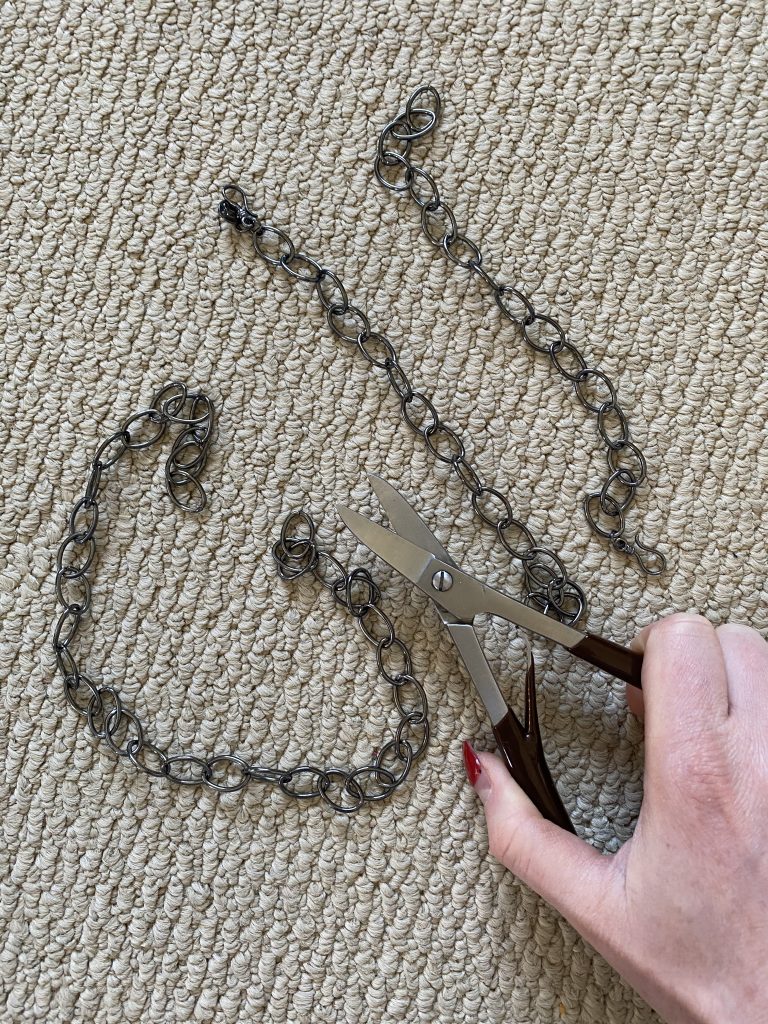
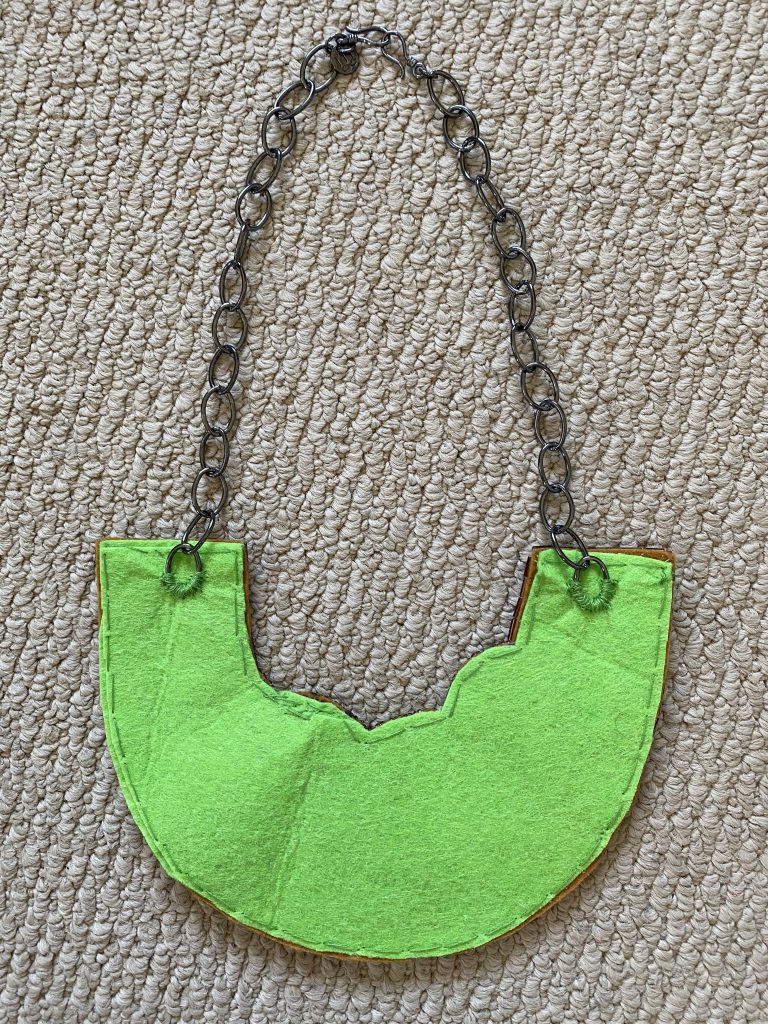
Here, I started with this thrifted chain:
I eyeballed the “drop” that I wanted my necklace to have, and measured two equal lengths. Then, snip, snip.
The remaining chain got set aside for another future project, and I attached the two pieces to my necklace in the most basic way imaginable:
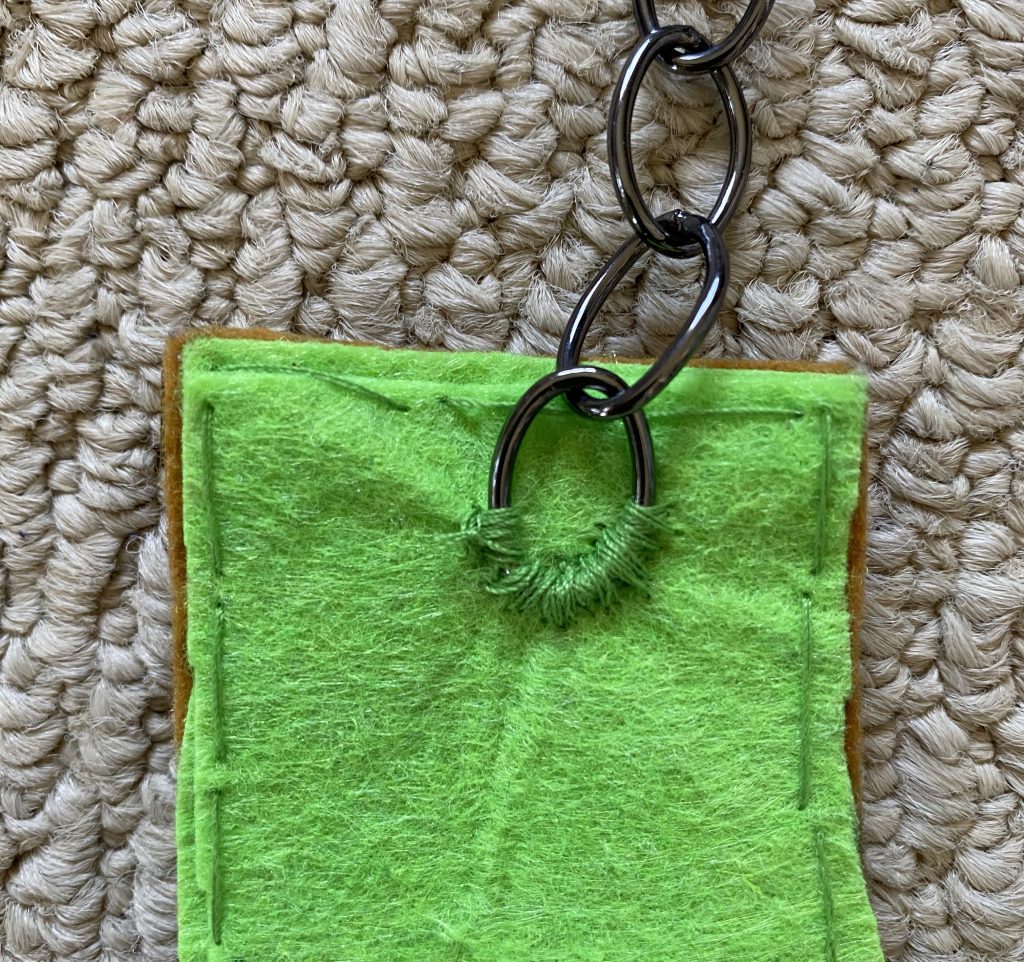
But from the front, it looks very nice, if I do say so myself.
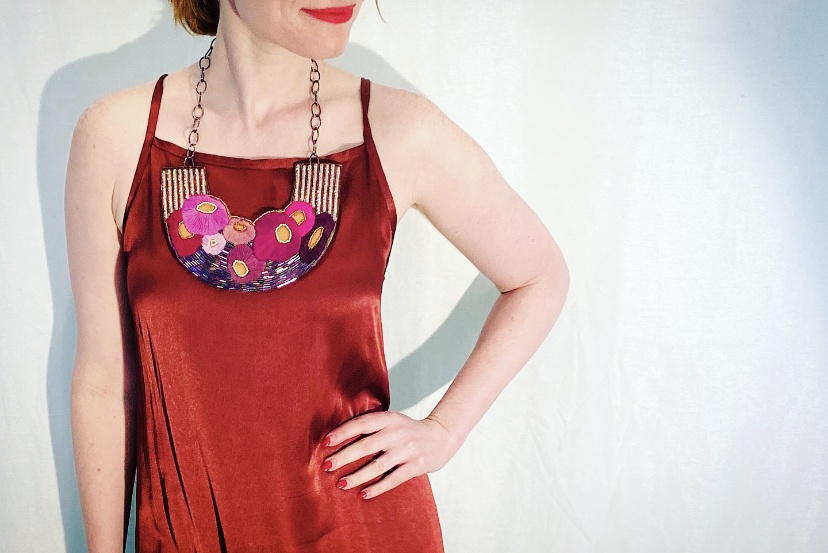
And here it is, from concept to reality:
This is the kind of project anyone can probably do with a bit of patience, so if you’re inclined to give it a try and have any questions, I’d be happy to answer them.
Stunningly creative, as usual!
I actually would have thought the project beyond my skill set, but your instructions make it look achievable. Thanks!
Very beautiful and creative. Could you show the beading process? The beads are so tiny. Have you tried attaching the chain in between the lining and the front?
Yes, sometimes I do. It depends on the piece and what I think will work better.
The beads are quite small, at least some of them. I’m not sure it’s possible to show the process unless I record a (hands free) video, which I haven’t figured out how to do yet 😬