Category: Beauty products

My Skincare & Makeup Routine, Summer 2017

I feel like I was writing about skincare and make-up yesterday, but in fact it’s been over 8 months … which explains the slight change-up in my routines. I still get lots of questions about this on a regular basis, so this is probably a good time for an update. Before we start, you can revisit my previous skincare post (January 2017) here, or my old make-up routine (May 2015) here.

This post contains no affiliate links.

Skincare

I am at an age now when make-up can only do so much to help me on my quest to satisfy my vanity; proper skincare (and rest, diet, and genetics, but that’s a whole other story) matters a heck of a lot more. The bare minimum I would recommend to anyone in my late-30s shoes is: retin-A, sunscreen, and a basic moisturizer. If you wear make-up, you will also need a cleanser of some sort. If you have prescription coverage, this basic regimen can be relatively inexpensive, and you’ll be set. But if, like me, you want to delve a little deeper into the skincare world, well … read on.

There are a lot of great, free resources out there if you are starting this journey without much prior knowledge. This blog is definitely not one of them, but I recommend forums like r/skincareaddiction and r/asianbeauty. They are a mine of information, which should guide you to selecting the products that work best for your skin and budget.

So let’s talk about mine for a moment. As I’ve mentioned before, my skin is relatively low maintenance. My main issues are fine lines, dryness, uneven tone (with a tendency to pinkness), and the occasional bit of acne. As for my budget … well, I am cheap. I have paid for some expensive procedures (like microblading) in the past, but I am generally reluctant to spend a lot of money on skincare or make-up products. Luckily, these days, that is not a barrier to getting your hands on great products.

As my previous post indicated, when I started to get interested in skincare, I used a lot of Asian products; they are inexpensive and effective. The downside, for me, was getting them. They are readily available on Amazon, for the most part, but I found the shipping times to be wildly unpredictable. After waiting for months on end for products to arrive, I gave up. Around the same time I was getting frustrated with that, I discovered The Ordinary line of skincare — and never looked back. These products are even cheaper, and I can usually get them within 2 weeks of ordering them online. And they work great!

I have ended up with a substantial collection of their products — at under $10 per bottle, it’s easy to go a little nuts — which I use depending on what my skin feels like it needs at any given time. My loose schedule looks something like this:

Morning: Argireline or Niacinamide + Azelaic acid + CeraVe or CosRx Advanced Snail Mucin + sunscreen

I still use the Biore Watery Essence sunscreen, as I have an bottle of the old formulation left. The last time I purchased a back-up on Amazon, I think I ended up with the new formulation. When the time comes, I will try it and see if I like it. If I don’t, I may try this Shiseido sunscreen next. A quick note: I feel like I need to add a moisturizer directly under the sunscreen, otherwise my make-up really dries out over the course of the day. I should also mention that I wait a minute or so in between applying each product so that it’s not one big goopy mess. I probably should wait longer, but I haven’t got time for that in the morning.

Speaking of moisturizers, CeraVe is my go-to. I bought a huge tub of it months and months ago, and it is not even half empty. It gets the job done very well.

Evening: oil cleanser THEN retin-A + rose hip oil + CeraVe (x 3 per week) OR Lactic Acid or CosRx Sol A solution + Hyaluronic Acid or Vitamin C + rose hip oil + CeraVe (rest of the week)

My oil cleanser is this Softymo Speedy Cleanser. I buy it from T&T, a local Asian supermarket. It’s not cheap ($18/bottle) but it works like a dream; sadly, I can’t find it cheaper elsewhere locally, and I don’t like to take my chances with international shipping because I go through my bottles fairly quickly (4-6 weeks). I will say that, post-cleansing, I stretch out my routine over an hour or so; while I read or Netflix, I go through the sequence, allowing each product to dry fully on my face before applying the next. Sometimes, I throw on a Tony Moly mask into the mix.

When I get a zit, I usually dab it with either a teeny tiny bit of retin-A or some CosRx Sol A solution before bed, and it’s usually either entirely gone or substantially reduced in size by the morning.

Make-Up

My “everyday” look hasn’t really changed much in years, as far as my appearance goes, but I have been playing with some new products lately which I have really grown to love. The biggest change has been a switch back to powder foundation. I used to use Bare Minerals in my late 20s, then switched to liquid foundation (L’Oreal) about 5-6 years ago. More recently, I found that I was using a finishing powder for that “blurred Instagram filter” look, and started to wonder if I could simplify things by going back to a powder foundation. My dermatologist’s spa sells Jane Iredale make-up, so I decided to give that a try as opposed to going to Sephora for Bare Minerals — I am the queen of convenience, and I also like to make my life easier by avoiding temptation as much as possible. Sephora is “danger, Will Robinson” territory for me.

Long story short, I LOVE my Jane Iredale foundation. It offers the perfect amount of coverage and line blurring, and it helps to even out my tone. I bought the re-fill package, and skipped the compact. It comes in a plastic tray which has traveled with me without issues. It’s not inexpensive at around $50, but it last for 3-4 months.

For my under-eye area, I use the Essence Colour Correcting Say No to Dark Circles (oof!) concealer stick first, then the Maybelline Age Re-Wind concealer on top (then powder). I also use the Maybelline concealer on and around my nose for extra coverage.

On my eyes, I have recently started using the Tarte Tarteist Pro To Go shadow compact. It was a birthday splurge at, where else, Sephora. I have stepped foot into that store exactly one time this year, and came out poorer for it. I do love the quality of the Tarte eyeshadows though. They are very pigmented and go on smoothly. All of the colours are too dark as “all over” colours for my everyday face, so I use them only in the crease of my eyelids. For “all over” crease colour, I use one of the shades from an e.l.f highlighter quad (which I can’t seem to find online). Yes, I am that pasty. I love the wide pans in this compact, by the way.

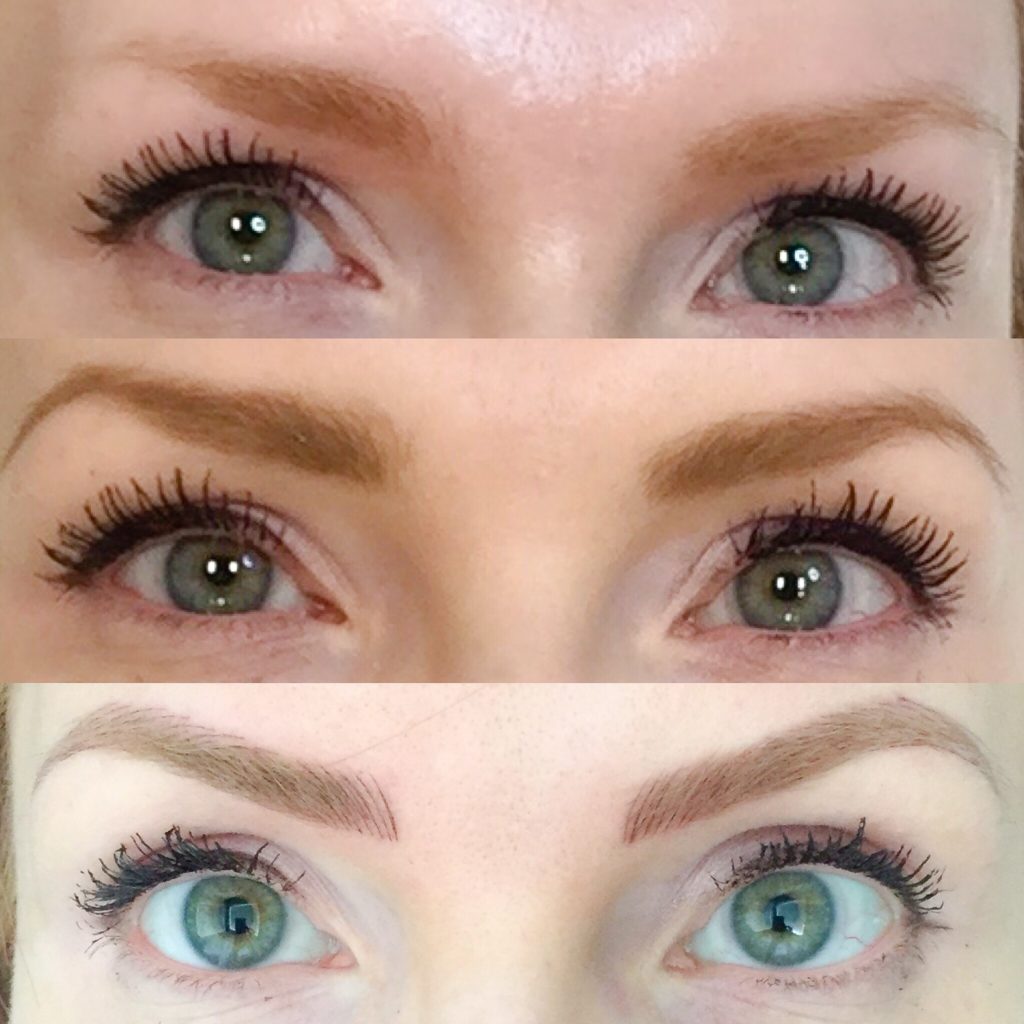
I touch up my microbladed eyebrows using the same Essence eyebrow pencil I have been using for the past couple of years. It’s cheap and it works fine. Here’s a link to Amazon, but ignore the price; you can get it for $3 at the drugstore.

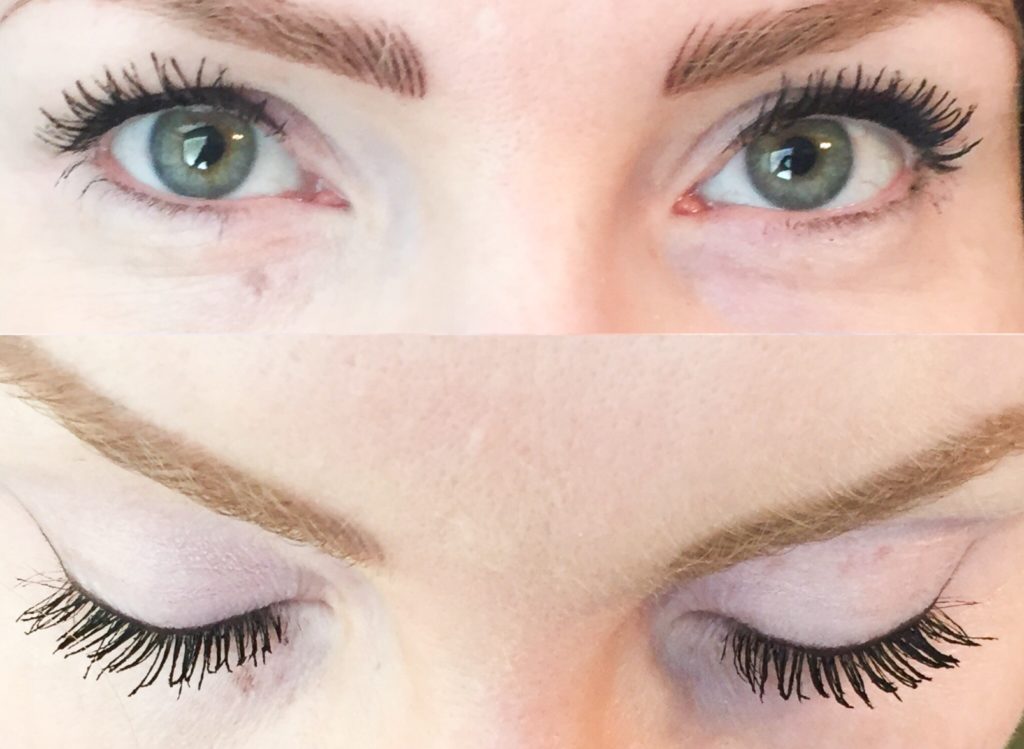
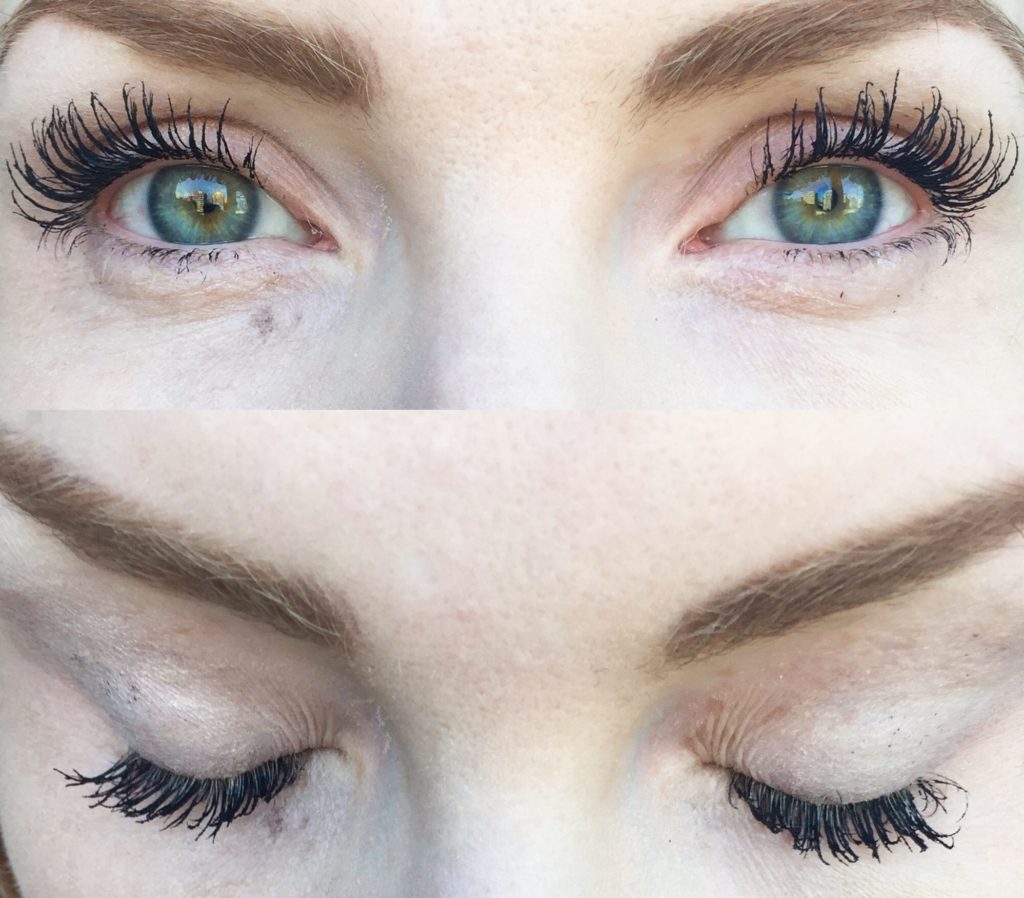
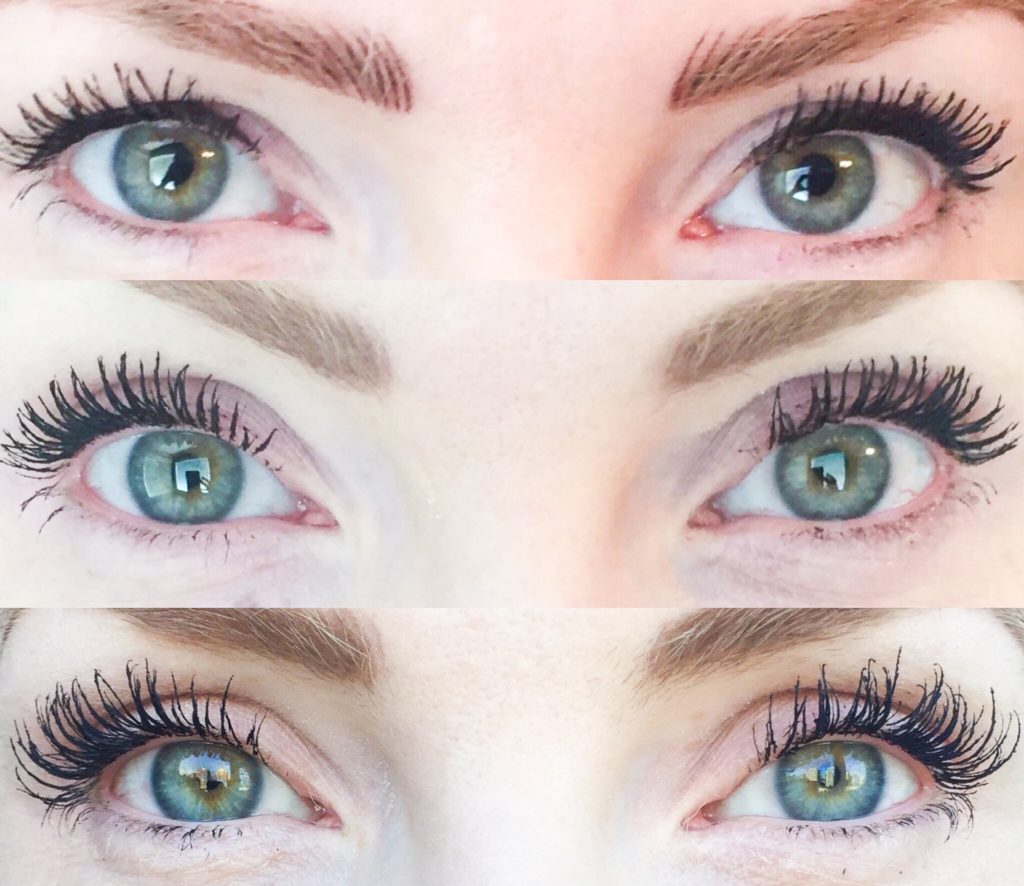
Since getting the Bambi eyelashes of my dreams, courtesy of the EyEnvy serum, I have stopped wearing my old crayon eyeliner. Combine with my eyelashes, I found the thick line too overwhelming for daytime. I did recently splurge on a Kat Von D Tattoo eyeliner (see above) which I use from time to time to add a veeeeery thin line on my upper lashline. I am waiting for a special occasion to try a proper cat’s eye. So far, it does seem to be better than most liquid eyeliners I’ve tried before. The pen hasn’t dried out immediately, and it has good pigmentation and staying power. I am not sure I want to spend $27 on eyeliner on the regular, but we shall see.

As for mascara, I still use my trusty L’Oreal Voluminous though I have branched out to new versions of it. I use two different mascaras, which yes, is ridiculous, but eyelashes are my obsession. First, I use the Voluminous Butterfly Sculpt. I find that it separates my eyelashes nicely, and adds a good, thick-but-not-too-thick base layer of colour. I find that more than one coat of this mascara leads to gloopy results, so for the next coat, I use the Voluminous Lash Paradise. This one builds colour nicely without clumping even after 2 coats. Yes, I do add up to 3 coats of mascara, especially on the tips of my lashes, because they are very feathery and almost invisible otherwise. This is not for the faint of heart, for sure, but I’ve got it down to a 2 minute science.

While I wait for my first coat of mascara to semi-dry, I add a little bit of blush. This is a new addition to my make-up routine. After switching to powder foundation and running out of my old Benefit blush, I kinda gave up on finding a replacement. When I was at Sephora, the birthday gift I received included a mini Tarte blush (similar to this but small) which happens to be a great colour for me. So I’ve been using it, sparingly, most mornings. Like the eyeshadows, it’s very pigmented, so I recommend applying with a light hand.

Last but not least, lips. I have nothing exciting to recommend here. I am still working through my old stash of beloved (and discontinued) Rimmel Colour Rush lip crayons. I haven’t found a single other lip product to take their place, though I do quite like the following 2 products. L’Oreal Infallible lipstick in Rambling Rose looks like a lipstick but goes on almost like a crayon. It dries semi-matte, and has really good staying power. The colour is quite pigmented, so it’s a good alternative for a day when I want a bold-but-not-red lip. Wet ‘n Wild Megalast Liquid Catsuit Lipstick in Give Me Mocha is another product I quite like. It’s a brown-leaning pink; the formula is a matte lipgloss. Decent staying power, though not as good as the L’Oreal. I have also bought another tube of Clinique Black Honey, but I don’t find myself reaching for it too often. After my Rimmel lip crayons, I find it a bit too sheer and smear-y; the colour is still a classic, though.

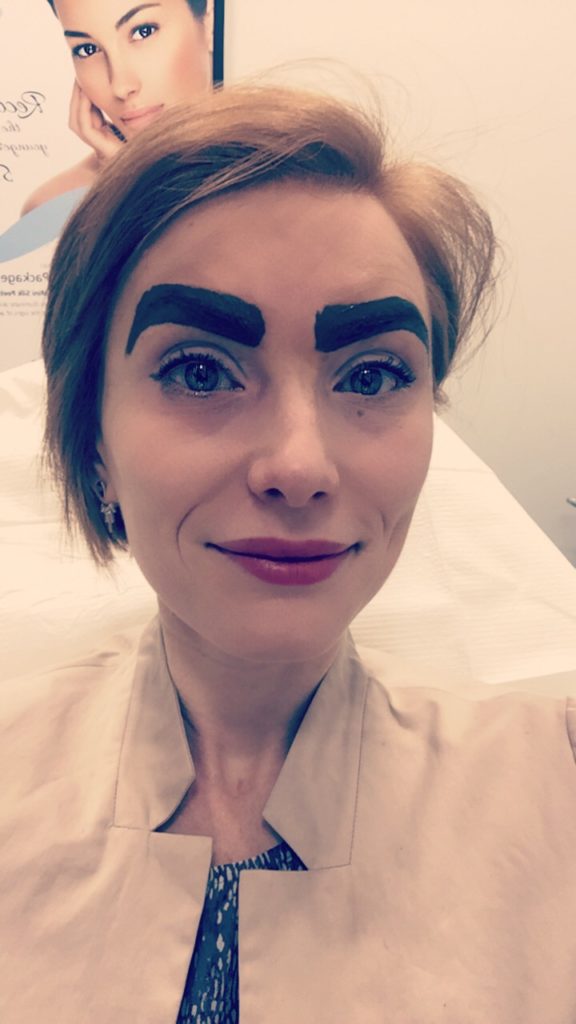
And, since pictures are worth a thousand words and all that, here is my before and after. Yes, this is the first time I’ve put my naked face on the internet so y’all better catch it quick before I inevitably regret my decision.

before, obvi
before, obvi

And after:

the Everyday face
the Everyday face

Questions? Product reccs? Hit me up in the comments.

How To Get The Eyelashes of Your Dreams

Beauty, they say, is in the eye of the beholder. Trite but oh so true. Some people love luscious lips; some people admire killer cheekbones or the perfect, pearly smile. Me, I am obsessed with 3 things: great skin, mermaid hair, and Bambi-like eyelashes. I have conceded defeat in the face of my follicular shortcomings; my hair looks its best (and is the most manageable) anywhere between chin- and shoulder-length — hardly the stuff mermaid dreams are made of. I am working diligently on getting my skin to look as dewy as my 37 years allow, and I am quite pleased with my current regimen. That leaves my lashes which were, well, fine. As long time readers know, I am devoted to mascara (L’Oreal Voluminous Butterfly, to be precise) for making the most of what nature has given me — super blond lashes, of average length and density. A good mascara can do a lot, so I was more or less satisfied … until the recent surge in popularity of eyelash extensions.

Suddenly, everywhere I turned, I saw Bambi lashes. Long, thick, feathery. I won’t lie; I got a bad case of eyelash envy. (Dun dun dun … foreshadowing) I am not one to shy away from improving on nature, but in this case, my options seemed sadly limited. I had tried working with false eyelashes before, with dismal results. Getting extensions myself was also out of the question; quite apart from the cost, I refuse to commit to any procedures that require monthly maintenance. It’s the reason why I stopped getting gel nails. I don’t have the time to go to a salon on a regular schedule; I can barely manage to make it for a haircut every 3-4 months.

It looked like there was nothing to be done on the eyelash front, until one day when I saw a post from the aesthetician who did my eyebrow microblading. I had admired her impossibly long eyelashes during my first appointment, and was intrigued to find out that they were not a product of extensions but, rather, a serum called EyEnvy. At my next visit, I asked her about it and she shared her experiences with me. At $100 a tube, I wasn’t immediately ready to jump into buying the serum, but the more I looked at her eyelashes, the weaker my reservations grew. Long story short, I paid the money and got my paws on it. And the rest, as they say, is history.

By the way, this is not a sponsored post. I bought EyEnvy with my own money, and I`m writing about it because, well, I think it`s worth talking about — even if taking close-ups of my eyeballs is just about the least fun thing to do ever.

What The Hell Is It?

Here is what you need to know about EyEnvy. Unlike Latisse, it is non-prescription and, as far as I know, comes with no risk of changing eye colour. It comes in a tube that looks similar to a mascara, but with a very, very small brush similar to what you would get with a liquid eyeliner. The version I got (3.5 mL) is supposed to last anywhere up to 5 months. For the first 3 weeks, you apply a small amount to each lash line every morning (before putting on make-up). The recommendation is that you touch the brush against the inner rim of the tube to get rid of excess serum, then run the brush along the upper lash line in the same way you would apply eyeliner (from the outside corner of the eye to the inner). I did not apply it to my bottom lashes, but you can do that as well (ditto for eyebrows). After 3 weeks, you continue using the serum about 3 times a week only.

As with any product used in the vicinity of your eyes, exercise caution. The serum should not go into your eyes, as it may cause irritation. Some people have reported temporary eye redness from use, but I did not experience any side effects. I am not a doctor, so I will add only this: apply your best judgment, and discontinue use if you notice any concerning symptoms.

Does It Work?

In one word: YES.

Pictures being worth a thousand words, I will let you judge for yourselves.

the "before"
the “before”

Because I didn`t start thinking about writing this post until after I started using the serum, this is the best “before” pic I could muster. The angle is not ideal to show you the relative length of my eyelashes (plus, I`m wearing eyeliner) but it gives you a decent sense of what was there.

four weeks in
four weeks in

I started to notice some changes about 2 weeks in; my lashes were a bit more lush, though not noticeably longer. For some reason, it seemed like my mascara went on more smoothly. I started noticing some extra length at about the 3-4 week mark. With that said, please don`t imagine that I went from average-to-Bambi in no time flat. I did not get to the point of noticeable growth until about the 6 week mark, and the growth was at times frustratingly uneven. Is there such a thing as lazy eyelashes? The eyelashes of my right eye grew faster than the left, and in a more even pattern — progressively longer towards the outer corner, similar to what you would get with a set of falsies. The eyelashes of my left eye … well, that was another story. They took longer to grow, and I ended up with random individual lashes that shot out, leaving the surrounding ones behind them. I ended up doing a second pass with the serum on my left eye a few times to try to encourage more growth.

Thankfully, by about the 8 week mark, things had evened out. And I had a legitimate fluttery fringe on my hands, erm, eyes. Behold:

two months in
two months in

What`s Next?

Judging from the sounds of the sloshing in my tube, I have quite a bit of serum left, so I plan on continuing to use it 3 times a week for the time being. I like the current length of my eyelashes, and the rate of turnover, but I may consider cutting back to 1 or 2 weekly applications in the future. My aesthetician mentioned that she stopped using the serum altogether, and did not notice any loss in length for about 6 weeks, so a small amount of serum can probably go a long way during the “maintenance” phase. Although there is a part of me that`s tempted to see how much more length I could get, I am already at a point where applying mascara without getting it all over my brow bone is quite tricky; it`s probably a sign to leave well enough alone.

One thing I should say is that mascara is still definitely much needed to make the most of my eyelashes. Though long, the tips of my eyelashes are even paler than the roots, and very fine. Without mascara, they would be completely invisible. While I don`t know for sure that the results would be the same for someone with dark eyelashes, I would not be surprised if it was. So if you`re looking for a way to ditch the mascara altogether, EyEnvy might not the answer for you. But if you want Bambi lashes? Well, you could do a lot worse.

"before" and "after"
“before” and “after”

Got questions? Leave me a comment, and I will do my best to answer.

ETA: I apologize for not addressing this in the original post. Several readers have indicated that EyEnvy is not available to purchase online. I bought mine through the medical spa where I received microblading services. I believe it’s available exclusively through salons in Canada. I should have included that in the post info — sorry to anyone who is unable to purchase this in their neck of the woods.

The One Where I Got Microblading

Don’t worry, no bloggers were harmed in the making of this post.

After spending 36 years learning to accept the things I didn’t love about my body, I recently realized that I am old enough now to afford to fix some of them. My eyesight was a big one; after 20+ years of glasses and contacts, I finally got Lasik a few weeks ago. The thought of waking up to something other than a blur is beyond exciting. But that is not what this post is about. This post is about something far more superficial: my eyebrows.

My eyebrow situation has been a low level annoyance for an awfully long time. Teenage over-plucking left me short half an eyebrow, and the remaining ones weren’t much to write home about — bushy but thoroughly blonde, which means that they were high maintenance AND pretty useless. “Putting on my eyebrows” has been a necessary daily ritual for years; without a well-defined brow, I look extra colorless and alien-like. I’ve become fairly adept at giving myself good arches, but always hated the extra hassle every morning.

Enter microblading.

When I saw my first microblading video on Instagram, I was confused … and intrigued. It took me a while to figure out what was happening (probably because I was watching the video with the sound off), but I immediately jumped on the internet to learn more. I’m old enough to remember old skool tattoo make-up, so I had some reservations at first. Some of the “after” photos that came up in my searches were less than inspiring, but it was clear that, when done well, microblading had a lot of potential. I particularly liked the fact that, unlike things like eyelash extensions for example, microblading is a longer-term solution. As I learned with gel nails, I simply don’t have time for monthly maintenance appointments in my life at present. Microblading lasts between 1 and 3 years, which struck me as a manageable commitment, both for my wallet and my face.

The big thing, as you might imagine, was finding a reputable place to have it done. Many of my friends had heard about and were interested in microblading, but no one I knew had done it. This was not the sort of thing I am comfortably leaving up to Yelp, either. I had kind of resigned myself to not doing anything about it when, a couple of months ago, I was referred to a dermatologist for an unrelated matter. [PSA: getting your moles checked is easy and it’s covered by government health care. The peace of mind that you don’t have melanoma: priceless.] That dermatologist, as it happens, also owns a spa. I figured it was worth asking and, sure enough, microblading was one of the services they offered. Anyway, long story short: I did it.

Groucho Marx = #eyebrowgoals?
mid-procedure / Groucho Marx = #eyebrowgoals?

Don’t worry, this was NOT the final result. I had to take a photo of this stage of the process because it reminded me of the first (puzzling) glimpse of microblading I’d ever had. Here’s a before-and-after comparison:

Top: natural sans make-up; Middle: with make-up; bottom: microbladed, no make-up

I LOVED my results. My friends loved the results. Even my mom loved the results … and that’s saying a lot, because my mom is firmly in the anti body modification camp. (I’m still not sure if she realizes that this is basically a face tattoo. I hope she’s not reading this post.) The process itself was fairly straightforward, and the pain more than tolerable. It took about 3.5 hours, during which time the aesthetician measured and sketched my “new” eyebrows, selected the colour, applied the topical numbing cream, and went over the after-care with me; there was about a half hour wait for the Lidocaine to kick in, and then the actual microblading took about an hour or so. I would say the pain was similar to what I feel when I get my eyebrows threaded. (For what it’s worth, I have a low pain threshold but fairly high pain tolerance. This definitely registered as “pain” but only at a 2 or 3 on a 1-10 scale. YMMV.) After the microblading, she applied the layer of pigment all over (as seen in the first photo), and I waited another 15 minutes or so, before she wiped it off and I was done. The skin around my eyebrows was a little bit red for the rest of the day, and I felt some tingling that evening, but nothing too major. My eyebrows looked great right from the start, although the aesthetician warned me that they would look darker during the healing process than afterward. There is a whole regimen that you’re supposed to follow for the 7-10 days, with the key thing being not to get your eyebrows wet. This is how I looked 2 days after the procedure:

everyday make-up (bare eyebrows), no filter

As they healed, my eyebrows became less red, which I was happy about — I didn’t want the end result to be too close to my hair colour, as I prefer an ashier brow colour. All was going well … until about the 5 day mark when I started stabbing. The scabbing itself wasn’t super noticeable but when the scabs started to fall off … well, most of the pigment seemed to go with them.

I FREAKED OUT. Big time.

I began to frantically google my situation, which yielded some reassurance that this could be normal. I had been warned that the strokes would get lighter (and the strokes less crisp) as my eyebrows healed, but I was not expecting this. It seemed … really drastic. My follow-up appointment wasn’t for another 3 weeks so there wasn’t much I could do except suck it up.

Here are my eyebrows at the 14 day mark (2 weeks before my follow-up):

Eyebrows pre-follow up appointment

You can see how much fading occurred (more on my right than my left eyebrow). They still looked better than au naturel but not nearly as defined as immediately after the original procedure. I started to pencil them in again in the interim, and hoped that the colour would get fixed at my next appointment.

And it was. Sort of.

Again, they looked great immediately after the procedure (an abridged version of the original). The healing was much quicker (with less scabbing) the second time around as well. But, as I had come to expect, there was some colour fading again. It was nowhere near as drastic as the first time. Overall, although slightly lighter than I’d like, my eyebrows generally look fine now without any make-up/filling. There is a small exception; the tip of my right eyebrow is a bit lighter than the left — not by a significant amount, but enough to bug me, so I do touch it up with pencil during the week.

Here’s my eyebrows (without make-up) about one week after my second appointment:

Natural eyebrows, post-follow up appointment

So my caveat/warning for anyone considering micro-blading is this: do not be surprised by how different your eyebrows look after the healing process is done, prior to the follow-up appointment. Most pictures you see on social media are taken immediately after the procedure is done, not weeks after the healing process is over, and I find many to be quite misleading. Also, if you are very fair, but prefer having darker eyebrows, be sure to communicate that clearly to your tech and be prepared for some push-back. Mine was concerned with going too dark, even on the follow up, which remains something of a regret; I love the shape she gave me, but I wish she’d gone darker.

So was it worth it?

This was not an inexpensive splurge ($375 plus tax), and I am honestly torn on whether I would do it again or not. I think it will depend on how long the results last; anywhere from 1-3 years is the norm, but I am worried that mine will “wear off” sooner. However, even with the lighter colour, it has made a considerable difference in my daily make-up routine, so it was worth it from that perspective. I’m just not sure yet if it made $375 worth of difference. Time will tell.